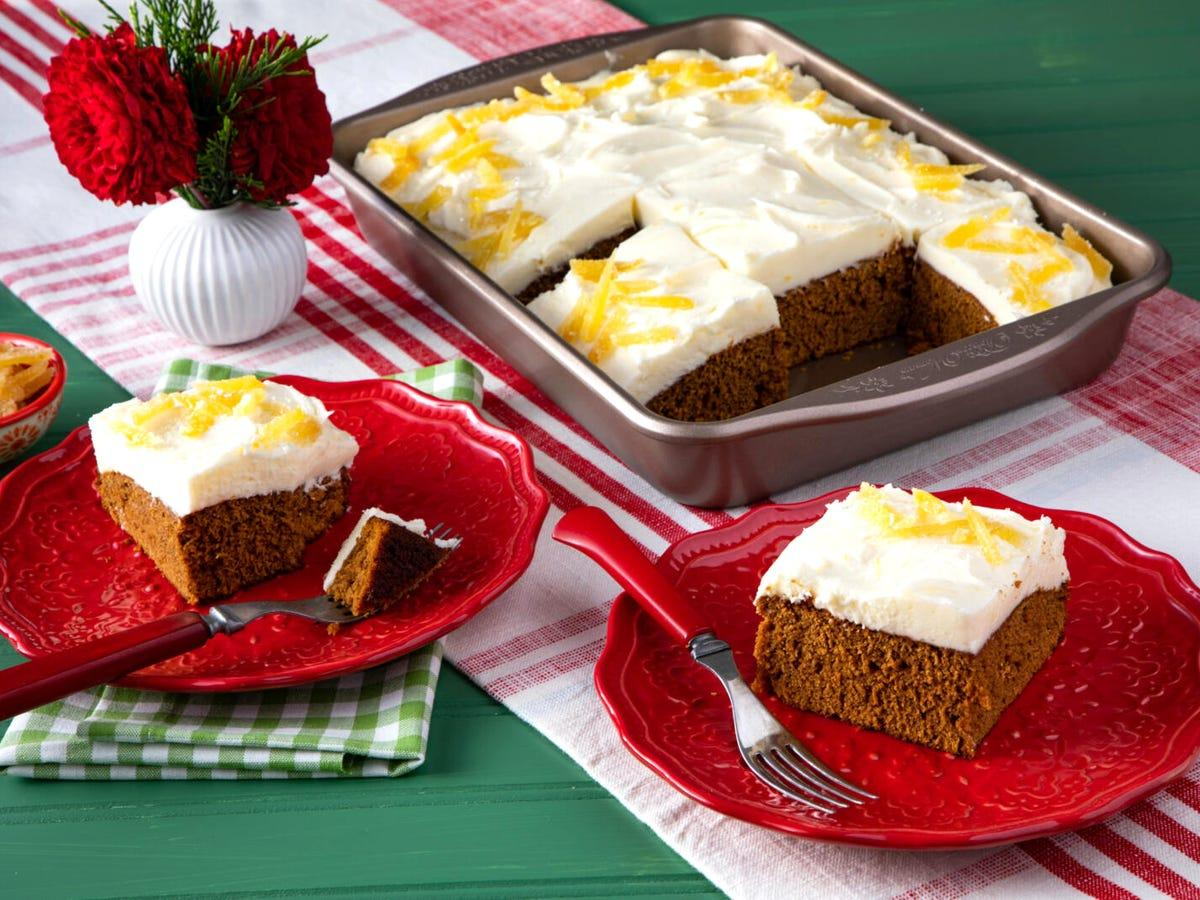
There is something special about the smell of gingerbread baking in the oven. The combination of ground ginger, cinnamon, cloves, and molasses creates a warm, comforting aroma that makes any kitchen feel like the holidays. Whether you’re preparing a Christmas dessert, planning a cozy afternoon treat, or simply craving something sweet with your tea or coffee, homemade gingerbread is a wonderful choice.
This classic gingerbread recipe makes a soft, moist, warmly spiced cake with a rich molasses flavor and a tender crumb. It comes together with simple baking ingredients, doesn’t require complicated equipment, and is easy enough for beginner bakers to prepare.
Unlike crisp gingerbread cookies, this recipe produces a deliciously soft cake that can be served plain, dusted with powdered sugar, or topped with a little whipped cream. It’s especially lovely during Christmas, but its comforting flavor makes it worth baking throughout the colder months.
In this guide, you’ll learn how to make gingerbread from scratch, which ingredients give it its distinctive flavor, how to keep it moist, and how to store leftovers properly.
What Is Gingerbread?
Gingerbread is a traditional baked treat flavored with ginger and other warming spices. Depending on the recipe and region, it can refer to soft cakes, chewy cookies, crisp biscuits, or decorative gingerbread houses.
For this recipe, we’re making classic gingerbread cake. It has a soft, moist texture, a deep brown color, and a distinctive sweetness from molasses and brown sugar.
Ground ginger provides its characteristic warmth, while cinnamon and cloves add depth. Molasses gives the cake its rich flavor and helps create its dark, appealing color.
Gingerbread is particularly popular during the Christmas season, when it is often served alongside hot chocolate, coffee, or tea.
Why You’ll Love This Gingerbread Recipe
-
Soft and moist texture: The combination of molasses, brown sugar, and butter helps create a tender cake.
-
Warm holiday spices: Ginger, cinnamon, and cloves give every slice a comforting, aromatic flavor.
-
Simple ingredients: You can prepare it with everyday baking staples and a few traditional spices.
-
Beginner-friendly: The batter is straightforward to prepare, making this a good recipe for home bakers.
-
Versatile serving options: Enjoy it plain, with powdered sugar, or with whipped cream.
-
Perfect for Christmas: Its rich color and familiar spice aroma make it a lovely addition to a holiday dessert table.
Ingredients You’ll Need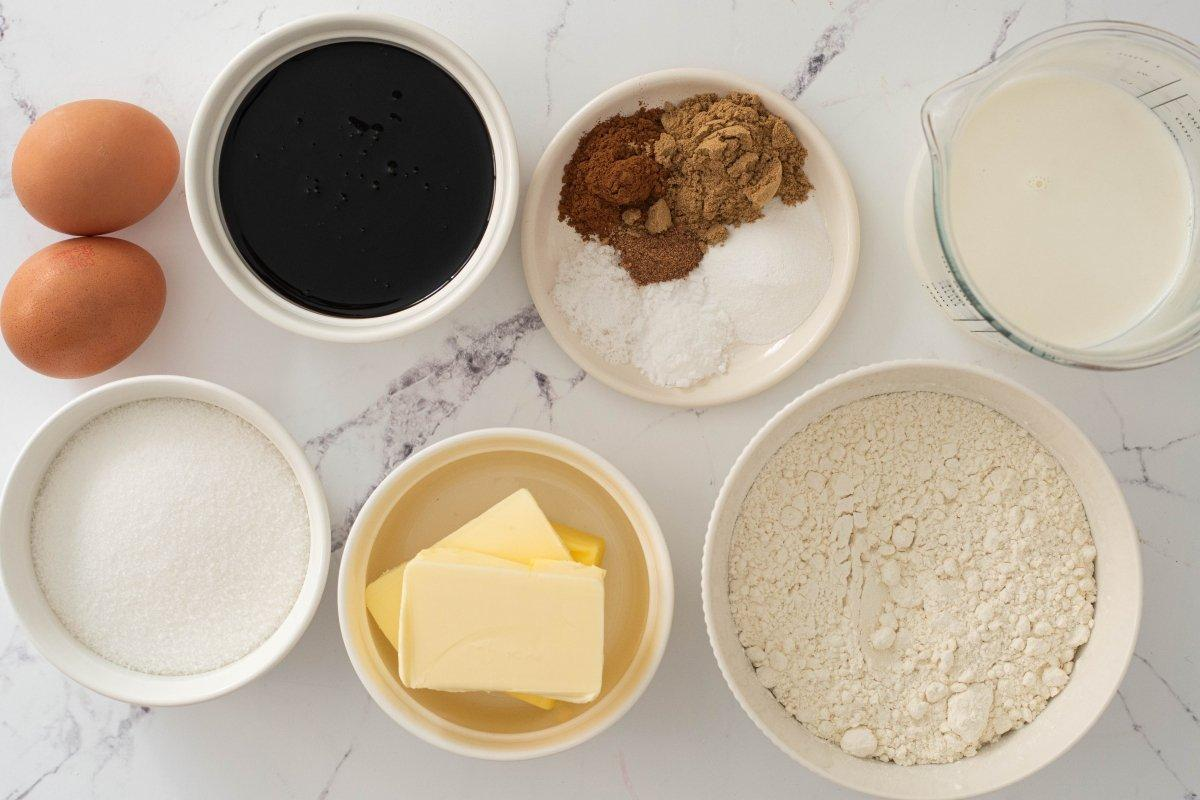
One of the best things about homemade gingerbread is that its distinctive flavor comes from a small selection of familiar ingredients. Each one contributes something important to the cake’s texture, sweetness, or warm spice profile.
Dry Ingredients
-
All-purpose flour: Provides the structure for the cake. Measure it correctly to avoid a dense or dry result.
-
Ground ginger: The main spice responsible for gingerbread’s recognizable warm, slightly peppery flavor.
-
Ground cinnamon: Adds sweetness and warmth that complement the ginger.
-
Ground cloves: Provides a deeper, more intense spice note. A little goes a long way.
-
Baking soda: Reacts with the acidic molasses to help the cake rise.
-
Salt: Balances the sweetness and brings out the other flavors.
Wet Ingredients
-
Unsalted butter: Adds richness and helps create a tender crumb.
-
Brown sugar: Contributes moisture and a gentle caramel-like sweetness.
-
Molasses: Gives gingerbread its traditional deep flavor, dark color, and characteristic richness. Use unsulfured baking molasses rather than blackstrap molasses, which can taste too bitter.
-
Egg: Helps bind the ingredients and provides structure.
-
Milk: Adds moisture and helps bring the batter together.
Optional Toppings
-
Powdered sugar for a simple finish.
-
Freshly whipped cream for a soft, creamy contrast.
-
A light vanilla glaze for extra sweetness.
How to Make Gingerbread From Scratch
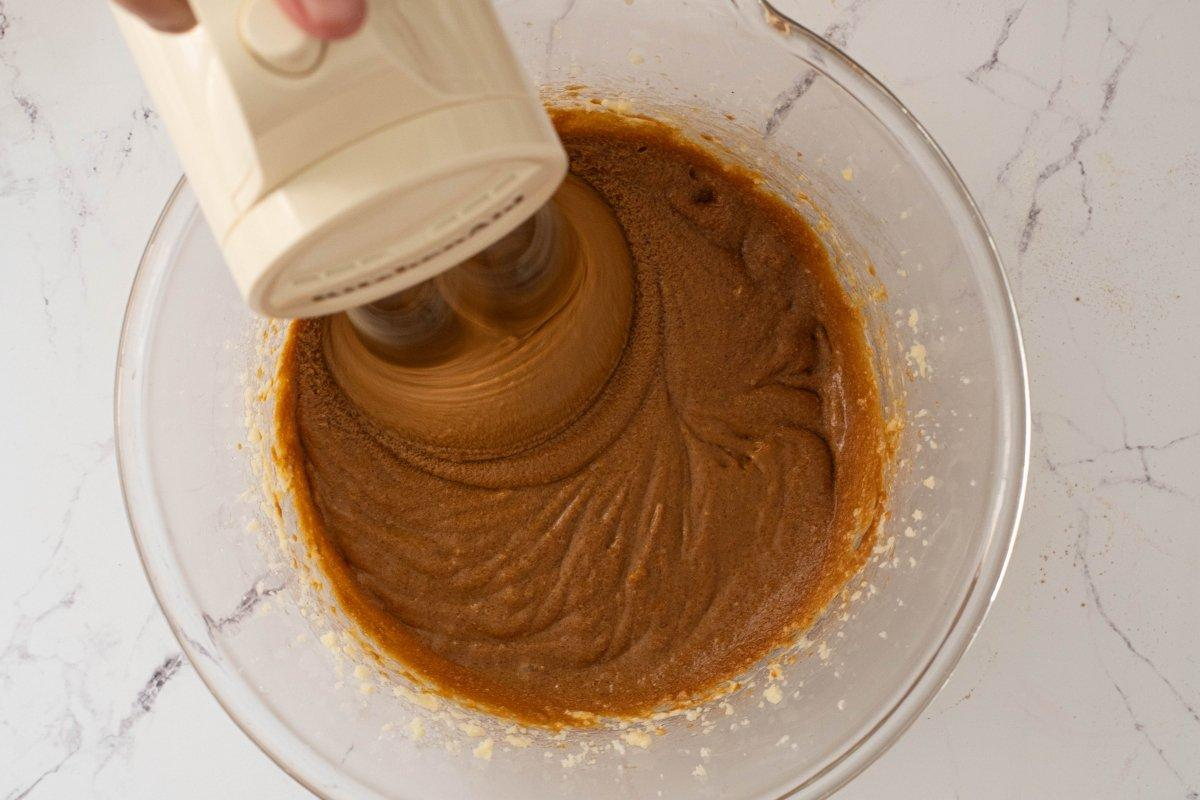
Making gingerbread from scratch is easier than you might think. The key is to combine the ingredients properly, avoid overmixing the batter, and give the cake enough time to bake without drying out.
Step 1: Prepare the Oven and Baking Pan
Preheat your oven to 350°F (175°C). Grease an 8-inch square baking pan with butter or nonstick cooking spray. You can also line the bottom with parchment paper to make removing the cake easier.
Measure your ingredients before starting. Allow the egg and buttermilk to come close to room temperature so they combine more easily.
Step 2: Combine the Dry Ingredients
In a medium mixing bowl, whisk together the flour, ground ginger, cinnamon, cloves, baking soda, and salt.
Mixing the spices evenly through the flour helps distribute their flavor throughout the cake. It also prevents concentrated pockets of baking soda or spice in the finished crumb.
Set the bowl aside.
Step 3: Mix the Butter and Sugar
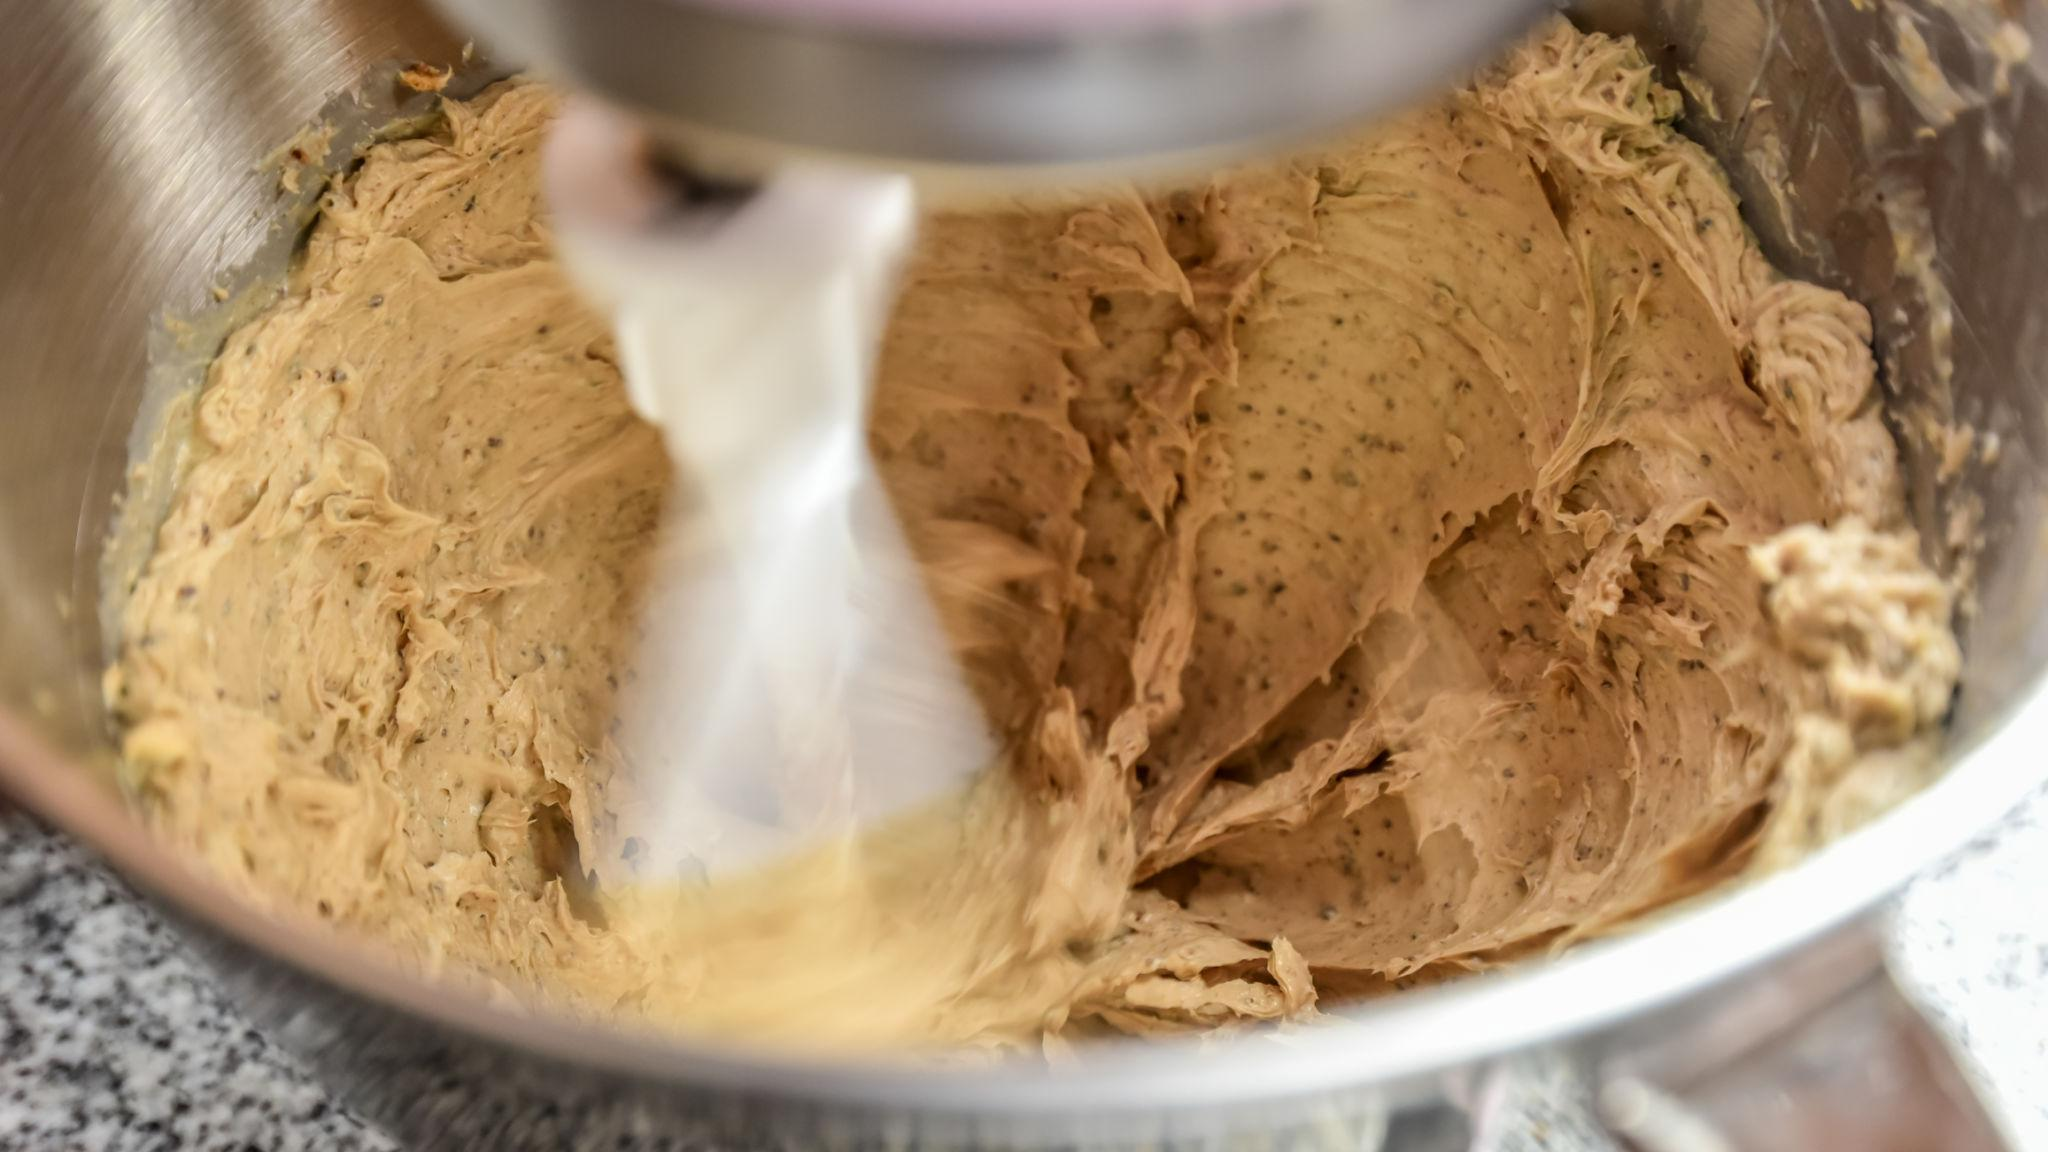
In a separate large bowl, beat the softened butter and brown sugar until the mixture looks smooth and creamy.
Add the egg and continue mixing until incorporated.
Next, pour in the molasses and stir until the mixture is evenly combined. It should look thick, smooth, and dark brown.
Step 4: Combine the Wet and Dry Ingredients
Gradually add the dry ingredients to the molasses mixture, alternating with the buttermilk.
Begin with some of the flour mixture, add part of the buttermilk, and continue alternating until everything is incorporated.
Mix gently and stop as soon as you no longer see large streaks of flour. Overmixing can develop too much gluten, which may make the finished cake tough.
The batter should be thick but pourable.
Step 5: Transfer the Batter to the Pan
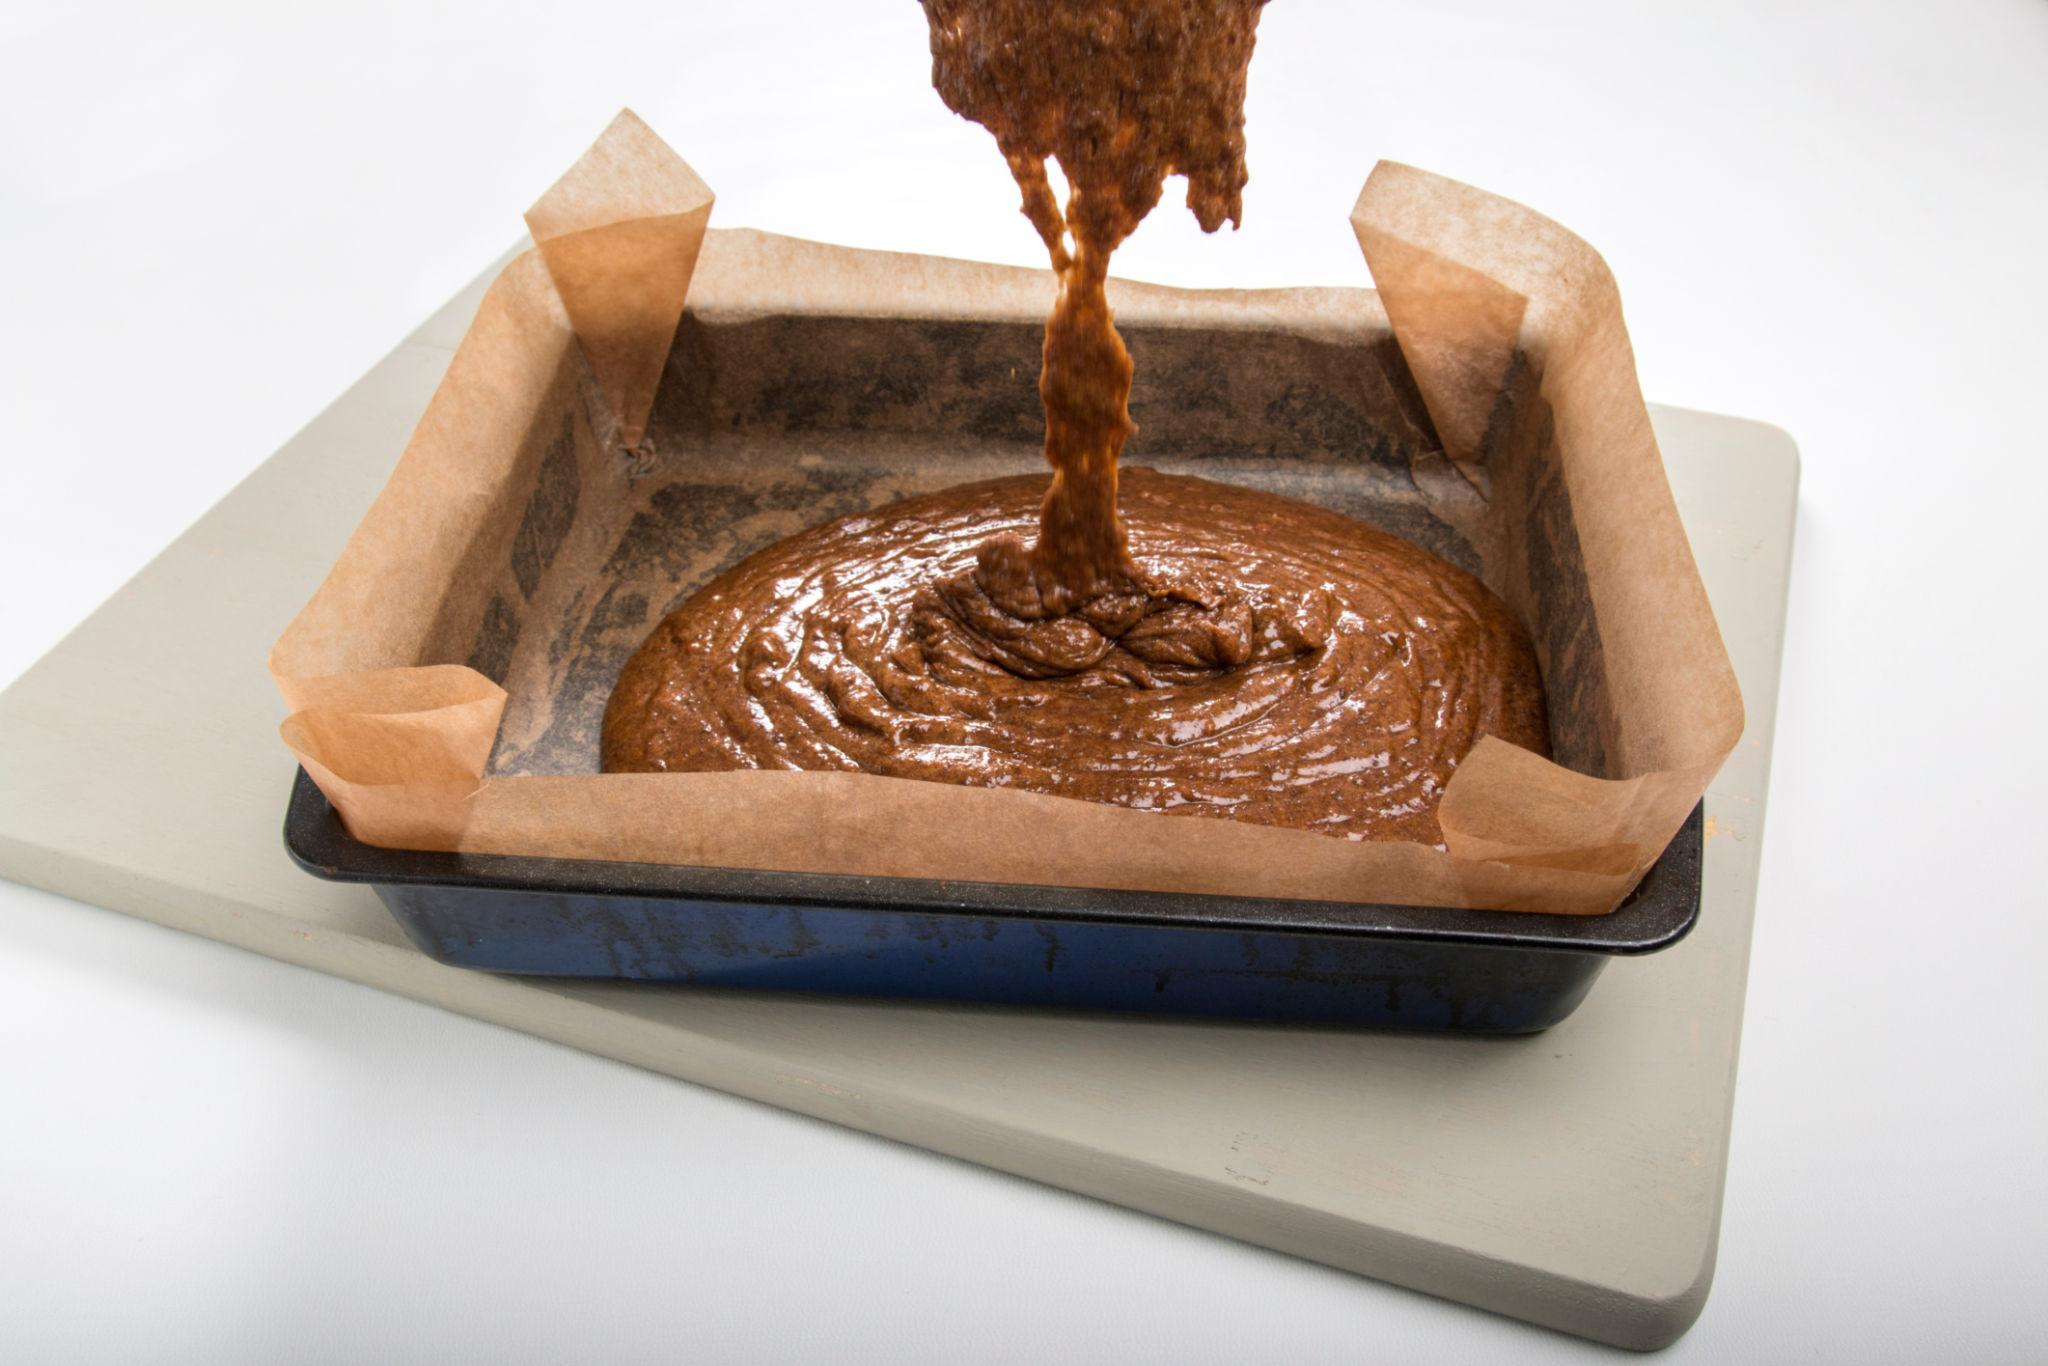
Pour the batter into your prepared baking pan. Use a spatula to spread it evenly into the corners.
Gently tap the pan against the counter once or twice to release any large air pockets.
Step 6: Bake Until Done
Place the pan in the preheated oven and bake for approximately 30–35 minutes, or until a toothpick inserted into the center comes out clean or with a few moist crumbs.
The surface should look set, and the edges may begin to pull slightly away from the sides of the pan.
Avoid opening the oven repeatedly while the cake is baking because sudden temperature changes can affect its rise.
Step 7: Cool and Serve
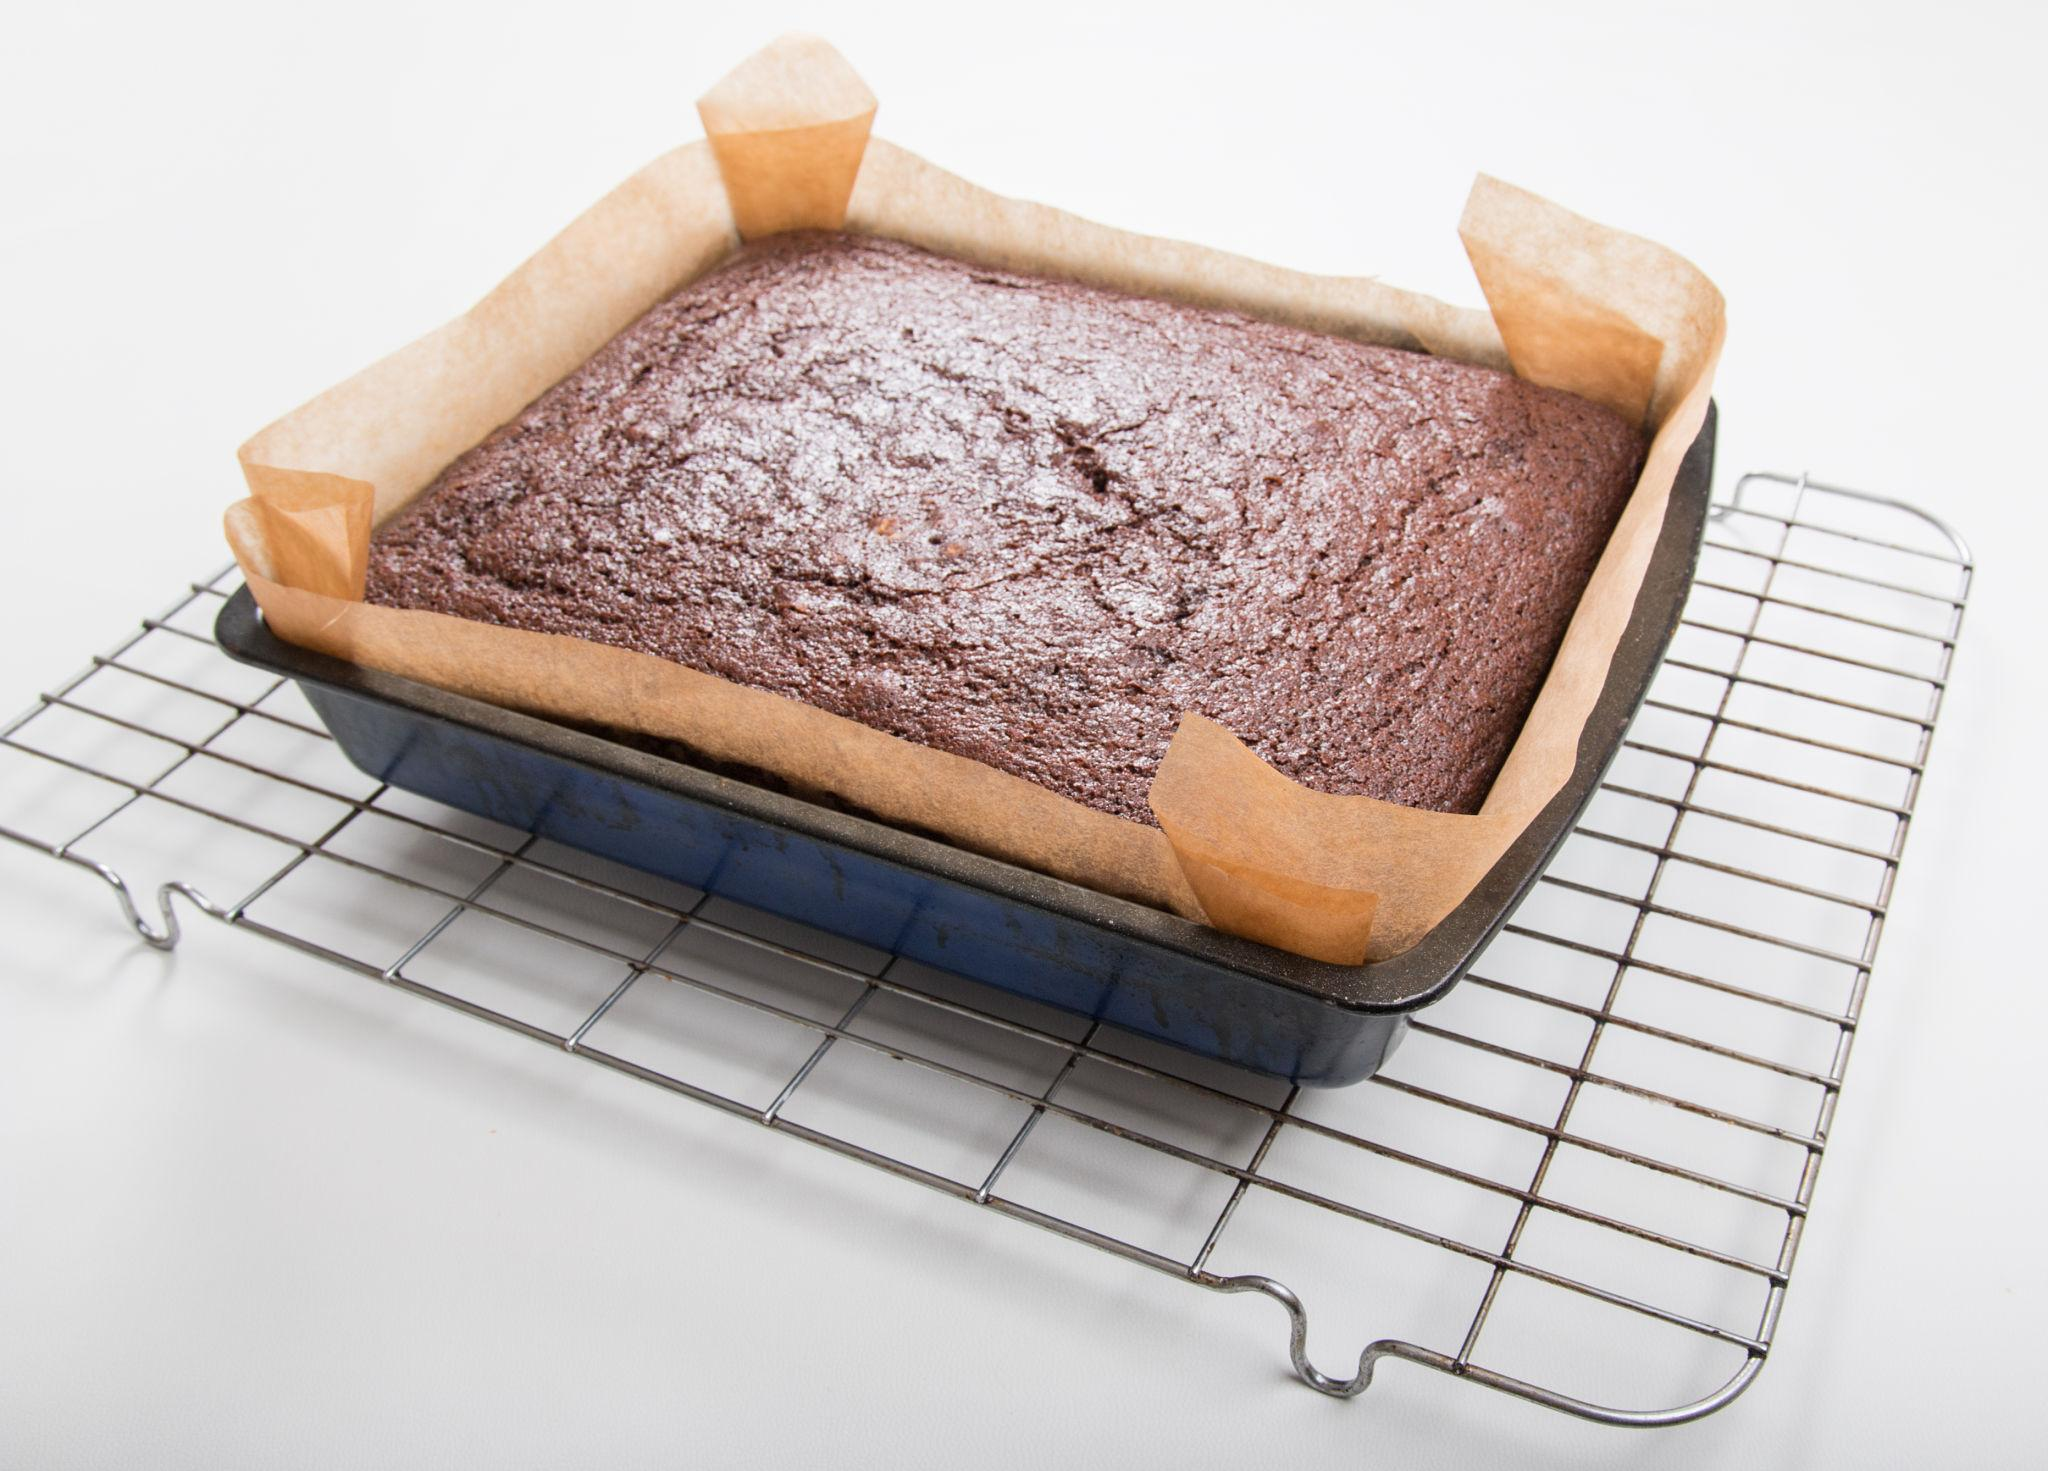
Remove the cake from the oven and allow it to cool in the pan for about 15–20 minutes.
Once slightly cooled, transfer it to a wire rack if desired and allow it to cool further before slicing.
Dust with powdered sugar or serve with whipped cream. You can also enjoy it slightly warm with a cup of tea or coffee.
Tips for Making the Best Gingerbread
A few small details can make a noticeable difference in the texture and flavor of homemade gingerbread.
1. Choose the right molasses. Use regular unsulfured light or dark molasses. Blackstrap molasses has a much stronger, more bitter flavor and can overpower the other ingredients.
King Arthur Baking+1
2. Measure your flour carefully. Too much flour can make the cake dry and dense. Fluff the flour first, spoon it into your measuring cup, and level it off rather than scooping directly from the bag.
3. Use fresh spices. Ground ginger and cinnamon gradually lose their aroma over time. Fresh spices give the cake a more noticeable, balanced flavor.
4. Avoid overmixing. Once the flour is incorporated, stop mixing. A gentle hand helps preserve a tender cake.
5. Don’t overbake. Start checking the cake around the 30-minute mark. Remove it when a toothpick comes out clean or with a few moist crumbs.
6. Allow the cake to cool before slicing. Cutting too early can make the soft center crumble. A little cooling time helps the crumb settle.
Easy Gingerbread Variations
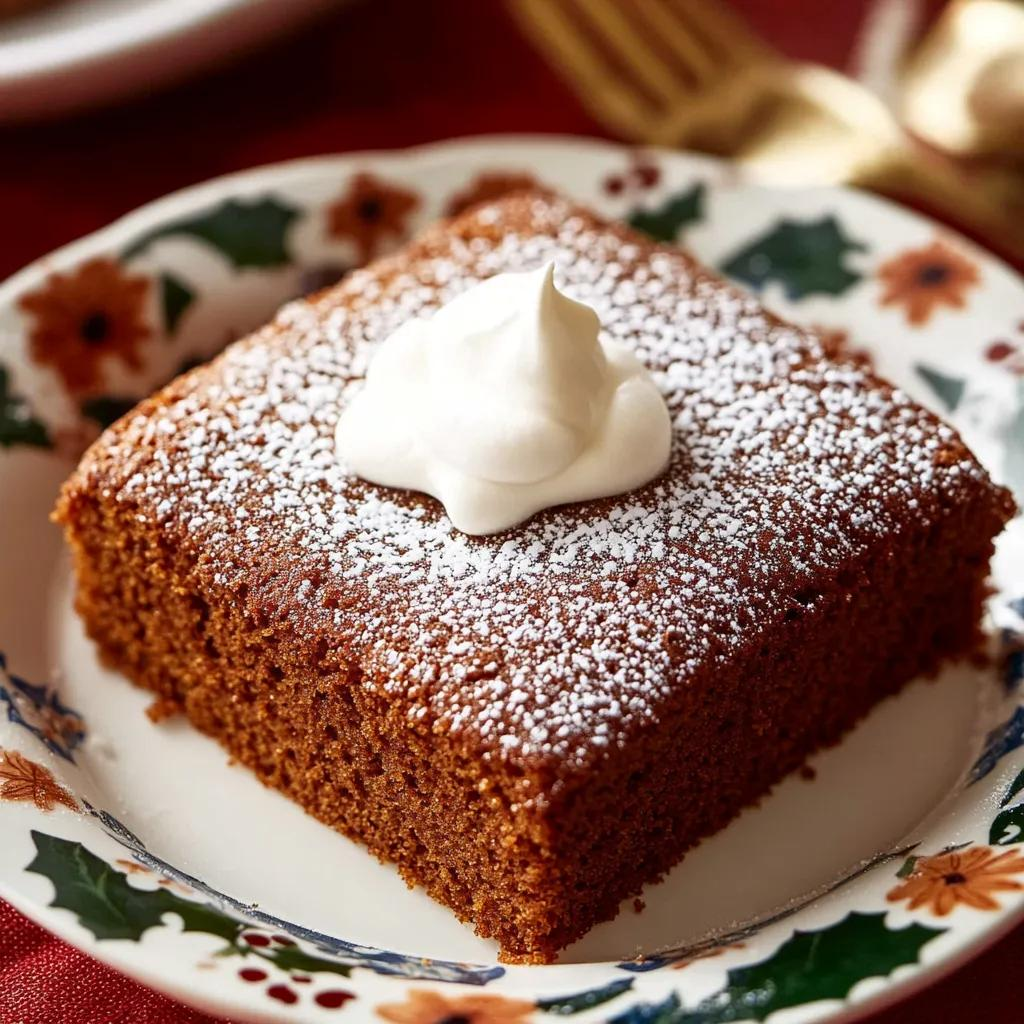
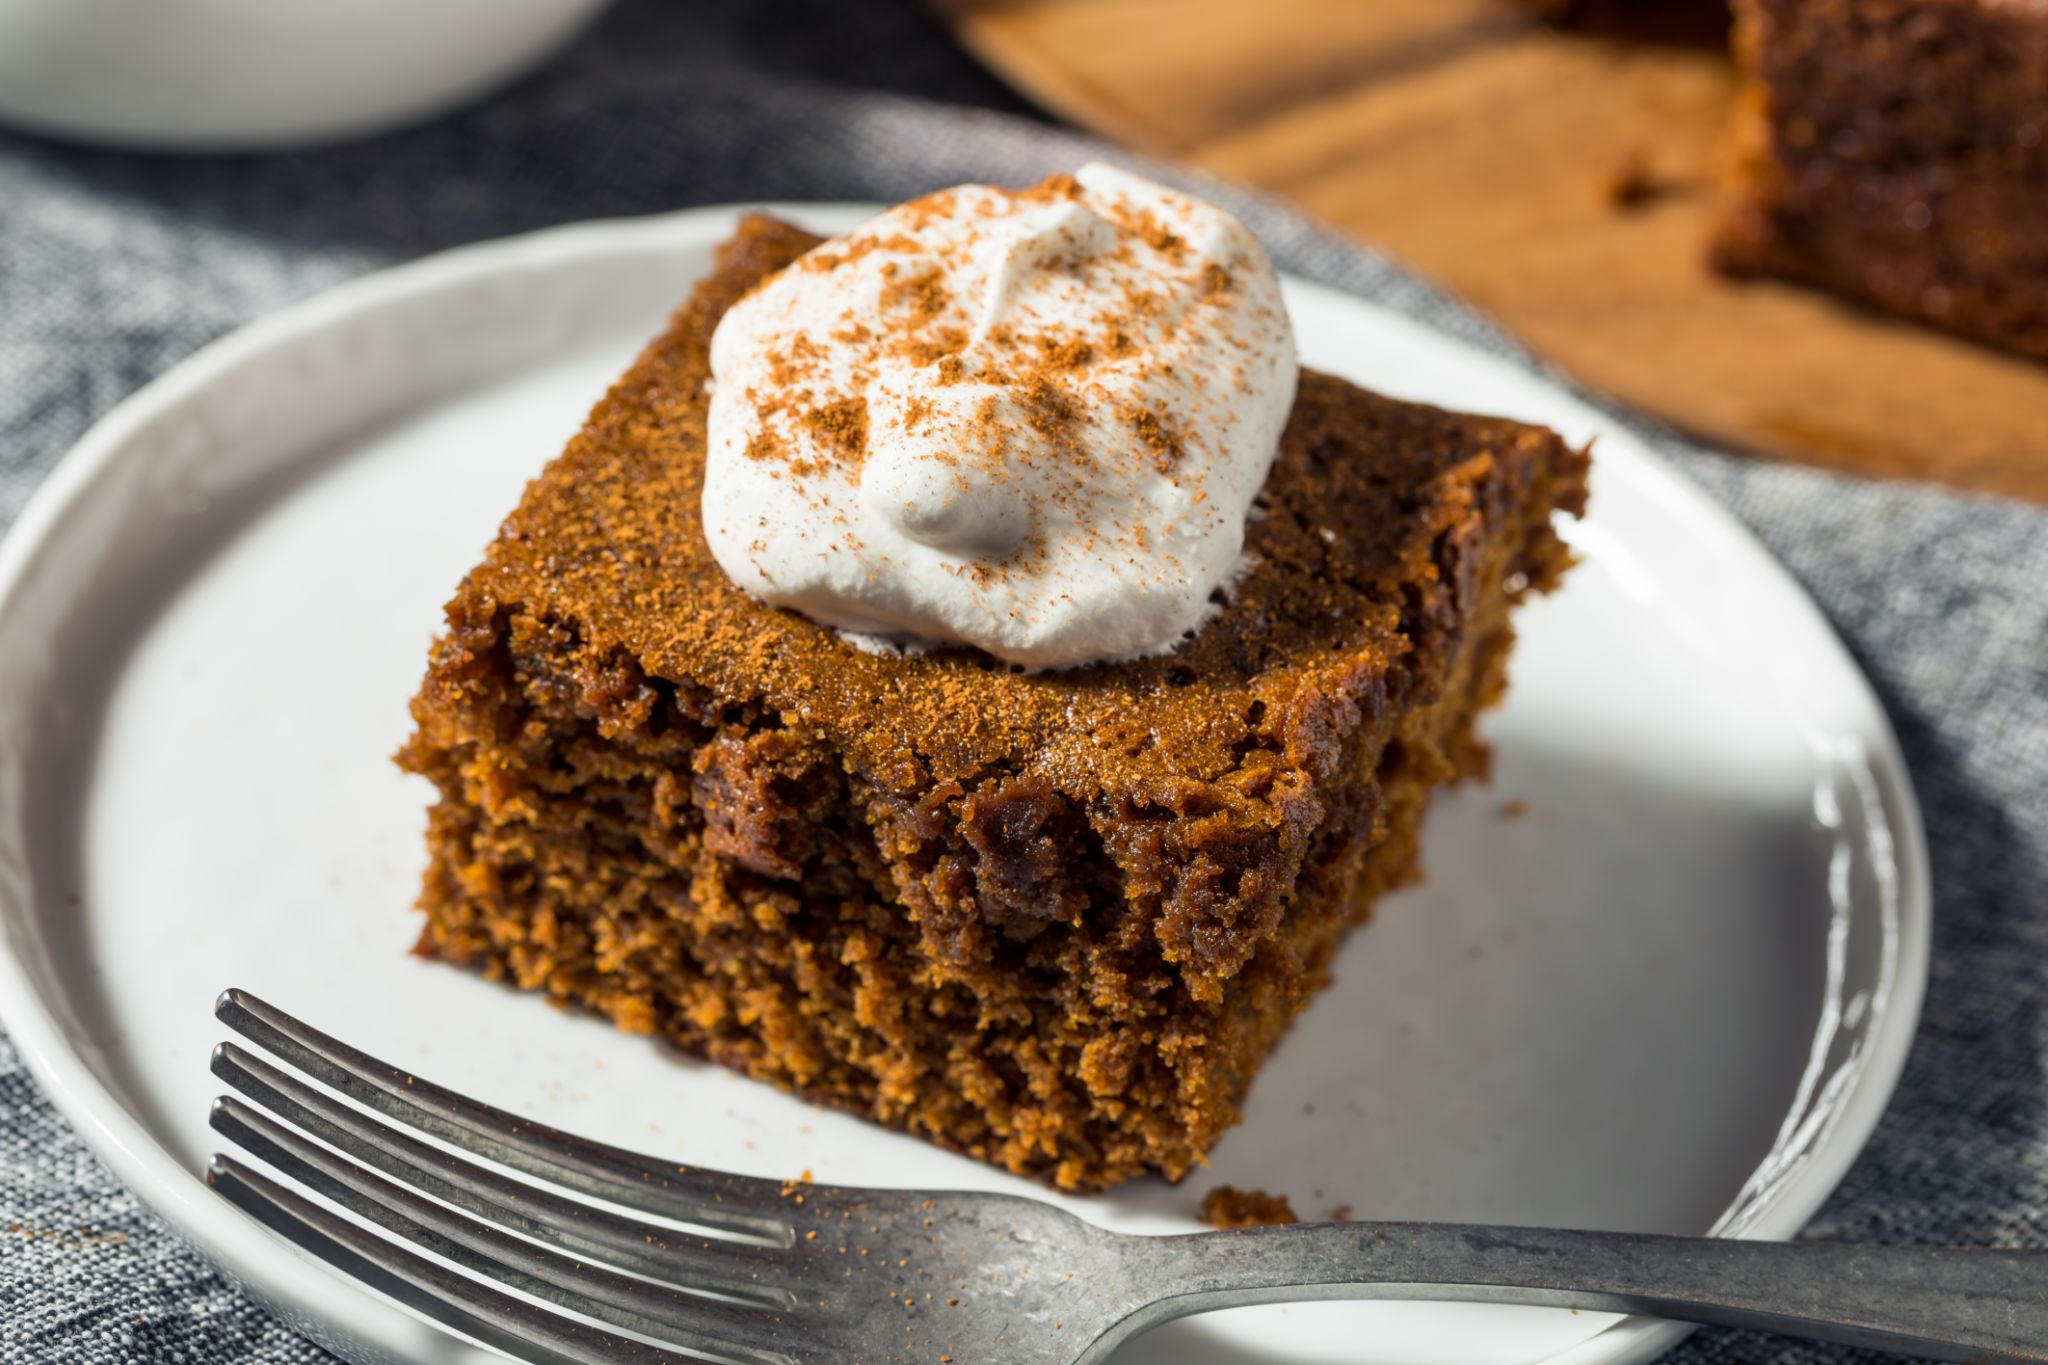
One of the nice things about gingerbread is how easily you can adapt it to different occasions and tastes.
-
Gingerbread with cream cheese frosting: Spread a layer of cream cheese frosting over the completely cooled cake. The creamy, slightly tangy frosting balances the warm spices.
-
Gingerbread with vanilla glaze: Mix powdered sugar with a little milk and vanilla extract until smooth. Drizzle over the cooled cake for a simple decorative finish.
-
Extra-ginger gingerbread: Add a small amount of finely chopped crystallized ginger for little bursts of stronger ginger flavor.
-
Gingerbread with orange: Add a little finely grated orange zest to the batter. Orange complements the molasses and warming spices.
-
Gingerbread with whipped cream: Serve individual slices with freshly whipped cream for a simple dessert that doesn’t require extra baking.
What to Serve With Gingerbread
Gingerbread has a rich, spiced flavor, so it pairs beautifully with simple toppings and drinks.
-
Whipped cream: Light, creamy, and a lovely contrast to the rich cake.
-
Vanilla ice cream: The cool, creamy texture complements the warm spices.
-
Hot chocolate: A comforting pairing for a Christmas afternoon.
-
Coffee: The slightly bitter flavor of coffee balances the cake’s sweetness.
-
Black tea: A simple cup of tea makes gingerbread a lovely afternoon snack.
-
Caramel sauce: A small drizzle adds extra sweetness and richness.
For a holiday dessert table, serve gingerbread alongside sugar cookies, shortbread, and other Christmas treats.
How to Store Gingerbread
Proper storage helps homemade gingerbread retain its soft texture and rich flavor.
At room temperature: Allow the cake to cool completely, then store it in an airtight container. Keep it in a cool, dry place away from direct sunlight.
In the refrigerator: If your gingerbread has cream cheese frosting or another perishable topping, refrigerate it in a covered container. Allow plain refrigerated slices to sit briefly at room temperature before serving for a softer texture.
In the freezer: For longer storage, wrap individual slices or portions tightly in plastic wrap, then place them in a freezer-safe container or bag. Thaw in the refrigerator or at room temperature.
Reheating: If you enjoy warm gingerbread, place an individual slice in the microwave for a few seconds. Heat gently to avoid drying it out.
Common Gingerbread Mistakes to Avoid
Even a simple cake can be disappointing if a few important details are overlooked.
-
Using blackstrap molasses: Its strong bitterness can overwhelm the ginger and cinnamon. Choose regular baking molasses instead.
-
Adding too much flour: This can make the cake heavy and dry.
-
Overmixing the batter: Excessive mixing can produce a tougher texture.
-
Using old baking soda: Baking soda that has lost its effectiveness may prevent the cake from rising properly.
-
Slicing while piping hot: The cake needs time to settle before cutting.
-
Adding frosting too early: Always allow the cake to cool completely before adding frosting or glaze.
Frequently Asked Questions
1. What is the difference between gingerbread cake and gingerbread cookies?
Gingerbread cake has a soft, moist crumb and is baked in a cake pan. Gingerbread cookies are made from a firmer dough that can be rolled, cut into shapes, and baked until chewy or crisp.
2. Can I make gingerbread without molasses?
Yes. You can substitute honey, dark corn syrup, or cane syrup in some recipes. However, the finished cake will have a different flavor, sweetness, and color because molasses provides gingerbread’s characteristic richness.
King Arthur Baking+1
3. Why is my gingerbread cake dry?
Too much flour, overbaking, or incorrect ingredient measurements can cause dryness. Measure carefully and begin checking for doneness before the expected baking time is over.
4. Can I make gingerbread ahead of time?
Yes. Gingerbread can be prepared ahead and stored in an airtight container. Some traditional gingerbread cakes even develop a more rounded flavor after resting overnight.
jasna.org
5. Can I use fresh ginger instead of ground ginger?
You can add finely grated fresh ginger for a brighter, sharper flavor. However, fresh ginger has a different moisture content and flavor intensity, so it is best used as an additional flavor rather than a direct replacement without adjusting the recipe.
6. How do I know when gingerbread is fully baked?
Insert a toothpick into the center. If it comes out clean or with a few moist crumbs, the cake is ready. The center should also look set rather than wet.
7. Can I freeze homemade gingerbread?
Yes. Allow it to cool completely, wrap individual portions securely, and store them in a freezer-safe container. Thaw before serving.
Final Thoughts
Homemade gingerbread is one of those comforting desserts that deserves a place in your holiday baking collection. Its soft texture, deep molasses flavor, and combination of ginger, cinnamon, and cloves make it especially enjoyable during Christmas.
Whether you serve it with whipped cream, a simple vanilla glaze, or just a dusting of powdered sugar, this classic gingerbread cake is a lovely treat to share with family and friends.
Save this recipe for your next holiday baking day, and enjoy a slice with your favorite warm drink!