
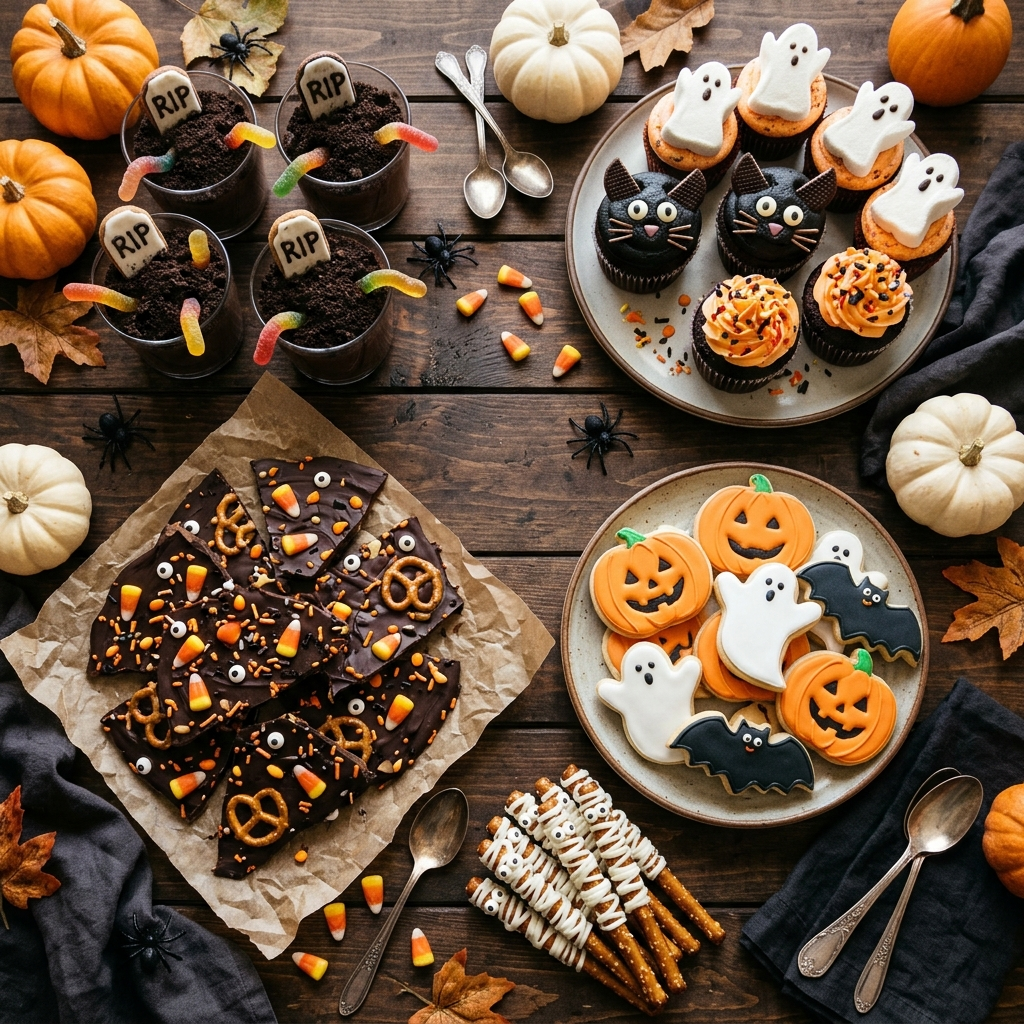
Dessert is usually the easiest way to make a Halloween spread feel festive without a lot of extra work. A plain batch of brownies becomes a “graveyard” with a few cookie crumbs and a plastic spider; a bowl of chocolate pudding turns into “dirt” with the same crumbs on top. The theming is often more about presentation than technique, which makes Halloween dessert ideas a great category for beginner bakers and busy parents alike.
This roundup collects 20 halloween dessert recipes organized by how much effort they take and who they’re for — quick no-bake treats, classic baked desserts with a spooky twist, kid-friendly options, more polished choices for adult parties, and a dessert charcuterie board that works as a centerpiece rather than individual servings. Each entry explains what makes it worth making, not just what it’s called, along with practical notes on timing and substitutions so you can build a dessert table that matches your schedule and your guest list.
How to Choose the Right Mix for Your Dessert Table
Before diving into the list, it’s worth thinking about balance the same way you would with any party spread. A table of all-chocolate desserts gets heavy fast, and an all-no-bake lineup can feel a little one-note in texture. A good halloween dessert table usually includes something chocolate, something fruity or lighter, something crunchy, and at least one item kids can help assemble themselves.
For a party of 10 to 15 guests, two to three dessert options with enough quantity for two to three small bites each tends to cover most appetites, especially if the dessert table follows a full dinner or heavy appetizers. If dessert is the main event — a kids’ Halloween party, for instance — four or five different treats gives guests enough variety to graze without overordering ingredients.
Easy No-Bake Halloween Desserts
No-bake treats are the fastest route to a finished dessert table, since there’s no oven timing to manage and most of them can be made well ahead.
1. Oreo Dirt Pudding Cups. 
2. Candy Corn Rice Krispie Treats.
3. Mummy Pretzel Bites.
4. Chocolate-Dipped Banana Ghosts.
5. Spiderweb Cheesecake Dip.
Classic Baked Halloween Desserts With a Spooky Twist
These recipes rely on baking, but the techniques are familiar — the Halloween element comes from shaping, coloring, or decorating a dessert you likely already know how to make.
6. Graveyard Brownies.
7. Black Cat Cupcakes. 
8. Pumpkin Spice Blondies. 
9. Meringue Ghosts.
10. Caramel Apple Slices. 
Fun and Cute Halloween Desserts Kids Will Love to Help Make
These options work well for kids’ parties or for letting children help in the kitchen, since most of the steps involve assembly rather than precise technique.
11. Jack-o’-Lantern Clementines.
12. Monster Cookie Cups.
13. Ghost Marshmallow Pops.
14. Candy Eyeball Bark. 
15. Witch Hat Cookies.
Halloween Desserts for Adult Parties
For a more grown-up gathering, these desserts lean on richer flavors and slightly more refined presentation while still keeping the Halloween theme visible.
16. Black Velvet Cupcakes.
17. Spiced Pumpkin Cheesecake Bars.
18. Chocolate Orange Tart.
19. Salted Caramel Popcorn Clusters.
Build a Halloween Dessert Charcuterie Board
If you’d rather build one centerpiece than assemble several individual recipes, a halloween dessert board pulls together store-bought and homemade elements into a single spread that still feels intentional.
20. Halloween Dessert Charcuterie Board.
A board like this is especially useful when you’re short on time, since it leans on a few homemade elements mixed with ready-made candy and fruit rather than requiring everything to be baked from scratch.
Make-Ahead Tips and Storage for Halloween Desserts
Most of the baked items on this list — brownies, blondies, cookies, bars — can be made a day or two ahead and stored in an airtight container at room temperature, which takes pressure off party day. Cheesecake bars and anything with a cream cheese or pudding base should go in the refrigerator and are generally best eaten within three to four days.
No-bake treats involving melted chocolate, like the mummy pretzels or candy eyeball bark, hold up well at room temperature as long as your kitchen isn’t especially warm; in a hot house, refrigerating them keeps the chocolate from softening or developing a dull, streaky surface called bloom. Items with fresh fruit, like the chocolate-dipped banana ghosts or caramel apple slices, are best made the same day or the night before, since cut fruit will brown and caramel can start to weep moisture if it sits too long.
If you’re assembling a dessert board, build it as close to party time as reasonably possible — within a few hours works well — so pretzels stay crisp and cut fruit stays fresh-looking.
Frequently Asked Questions
What’s an easy Halloween dessert for someone who doesn’t bake?
No-bake options like Oreo dirt pudding cups, spiderweb cheesecake dip, or candy eyeball bark require no oven at all and come together with basic assembly skills, making them a reliable starting point for non-bakers.
Can I make Halloween desserts gluten-free?
Several recipes here are naturally gluten-free or easy to adapt, including meringue ghosts, candy eyeball bark, caramel apple slices, and chocolate-dipped banana ghosts. For baked items like brownies or blondies, a one-to-one gluten-free flour blend generally works as a substitute, though texture can be slightly more delicate.
How far in advance can I decorate Halloween desserts?
Decorating details like piped icing tombstones or candy eyes are best added once the base dessert has fully cooled, but can usually be done a day ahead if stored in an airtight container. Delicate decorations near melted chocolate are best added within a few hours of serving so they stay crisp and well-defined.
What desserts work best for transporting to a Halloween party?
Bars, cookies, and bark travel better than anything with soft frosting swirls or delicate piping, since they’re less likely to shift or smear in transit. If you’re bringing a frosted item, chilling it briefly before transport helps the frosting firm up.
Final Thoughts
Halloween desserts don’t require special equipment or advanced baking skills — most of what makes these treats feel festive comes down to color, a few candy details, and simple shaping rather than complicated technique. Start with one or two no-bake options if you’re short on time, add a baked favorite you already know how to make well, and round things out with something kids can help decorate. That combination covers a wide range of tastes and schedules without turning dessert into the most stressful part of your Halloween party planning.
Leave a Reply