
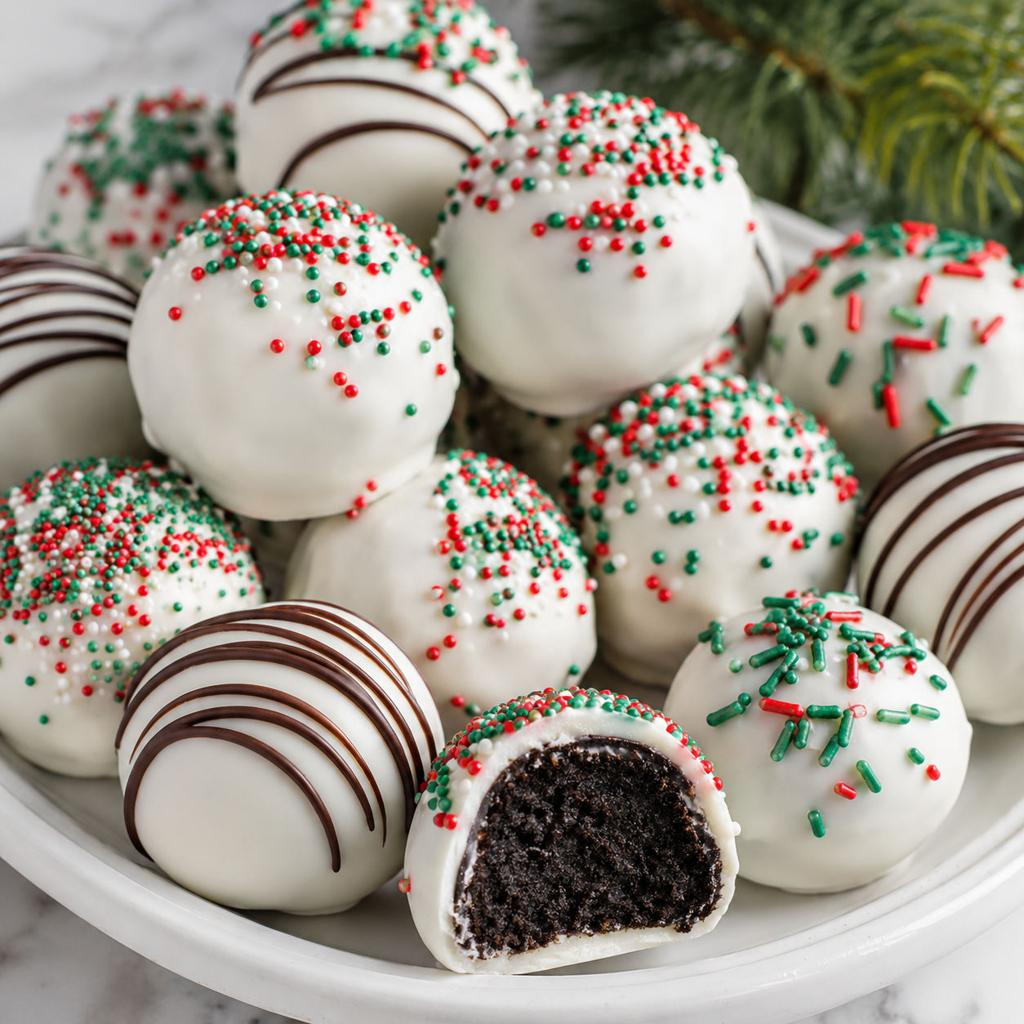
Christmas Oreo Truffles are one of those holiday treats that look special on a dessert platter but require very little hands-on work. Crushed chocolate sandwich cookies are mixed with cream cheese to make a rich, fudgy center, then rolled into bite-size balls and coated in melted chocolate. A little drizzle of contrasting chocolate and a few festive sprinkles turn them into an easy addition to a Christmas cookie tray, party table, or homemade gift box.
This no-bake version uses a short ingredient list and does not require a food processor, although one makes crushing the cookies faster. The most important steps are making fine crumbs, chilling the centers until firm, and dipping them in chocolate that is fluid but not too hot. Follow the tips below to help the coating set neatly and keep the truffles easy to serve.
Why You’ll Love These Christmas Oreo Truffles
- No oven required: The centers are mixed and chilled rather than baked, which is helpful when the oven is busy with holiday cooking.
- Only a few main ingredients: Chocolate sandwich cookies, cream cheese, and chocolate coating make the base.
- Easy to decorate: Use red, green, white, or gold sprinkles, or drizzle with a second type of chocolate.
- Great for sharing: The small portions fit neatly on cookie platters and in treat boxes.
- Make-ahead friendly: The truffles can be prepared in stages and stored chilled until needed.
Ingredients You’ll Need
- 36 regular chocolate sandwich cookies, including the filling (about 14 ounces / 400 g)
- 8 ounces (226 g) full-fat block cream cheese, softened slightly
- 12 ounces (340 g) semisweet or white chocolate melting wafers, or a suitable baking chocolate coating
- 1 teaspoon neutral oil or shortening, optional, only if needed to loosen the coating
- ¼ cup (about 45 g) red, green, white, or holiday sprinkles
- 2 ounces (55 g) white or semisweet chocolate, optional, for drizzling
Ingredient Notes and Helpful Choices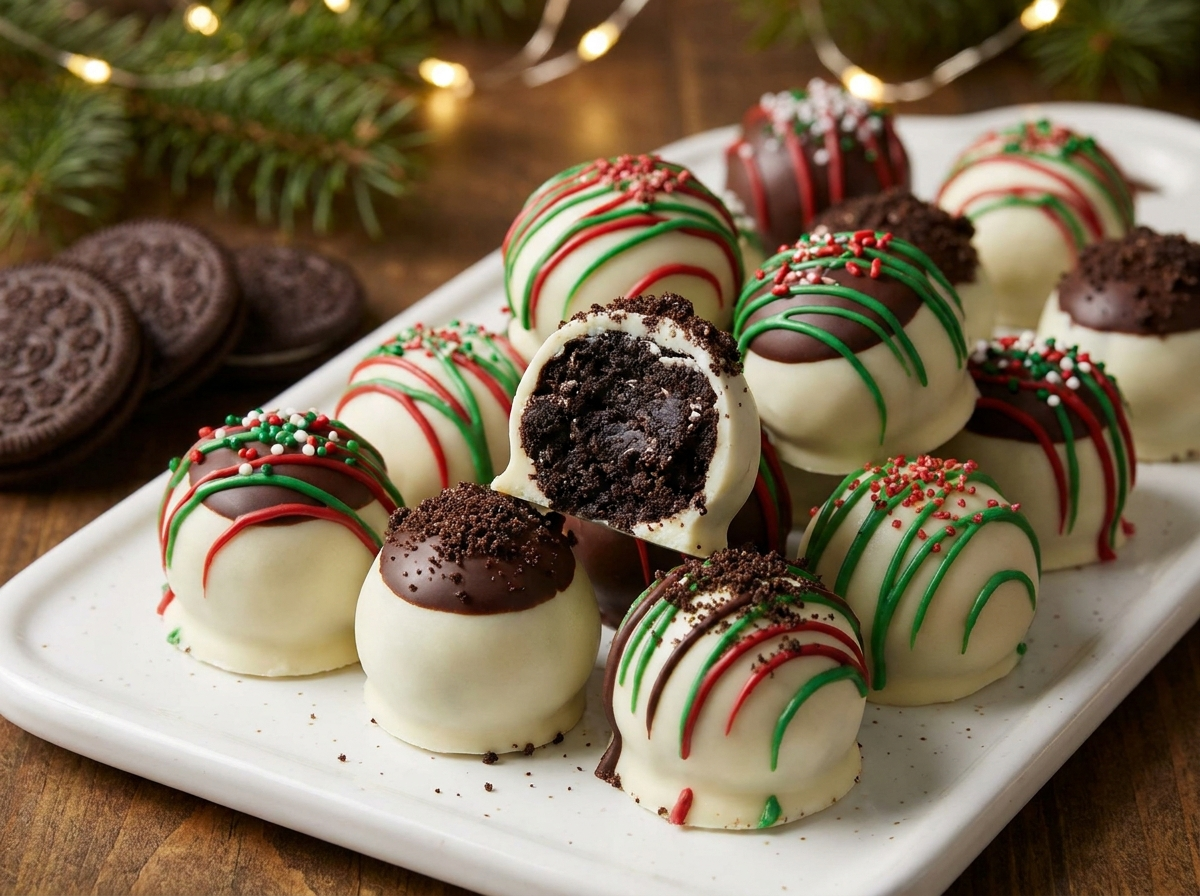
Chocolate sandwich cookies: Use regular, not double-stuffed, chocolate sandwich cookies for a consistent texture. The filling stays in the mixture; there is no need to scrape it out. Different brands vary slightly in size and moisture, so add the cream cheese gradually if your crumbs seem especially soft.
Cream cheese: Full-fat block cream cheese gives the truffle centers a rich texture and helps them hold their shape. Avoid whipped or spreadable cream cheese from a tub, which can contain more air and moisture. Let the block soften just enough to mix smoothly, but do not melt it.
Coating chocolate: Melting wafers or candy coating are convenient because they are designed to melt smoothly and set firmly. If using ordinary chocolate bars, choose good-quality chocolate and melt gently. Chocolate chips can be thicker when melted; a small amount of neutral oil or shortening may help, but add it sparingly.
Decorations: Add sprinkles while the coating is still wet so they adhere. For a cleaner finish, keep a small bowl nearby and decorate each truffle as soon as it is dipped.
Equipment
You will need a food processor or a sturdy zip-top bag and rolling pin, a large mixing bowl, a hand mixer or sturdy spoon, a small cookie scoop or tablespoon, a parchment-lined baking sheet, microwave-safe bowls or a double boiler, and a fork or dipping tool. A toothpick can help guide a truffle off a fork, and a small piping bag or zip-top bag with a tiny corner snipped off works for chocolate drizzle.
How to Make Christmas Oreo Truffles
1. Prepare the baking sheet
Line a rimmed baking sheet with parchment paper or a silicone baking mat. Make room in the refrigerator or freezer for the tray. Chilling the centers on a flat surface helps them firm evenly and makes dipping much easier.
2. Crush the cookies into fine crumbs
Place the cookies, filling included, in a food processor and pulse until they resemble fine, even crumbs. If you do not have a processor, put the cookies in a sealed zip-top bag and crush them with a rolling pin. Work in batches if necessary. Larger cookie pieces can make the mixture difficult to roll and may create rough spots in the finished truffles.
3. Mix in the cream cheese
Transfer the crumbs to a mixing bowl. Add the softened cream cheese and mix until the crumbs are evenly moistened and the mixture comes together like a thick dough. A hand mixer on low speed works well, but a sturdy spatula or spoon is also suitable. Scrape the bowl so there are no dry pockets of crumbs. If the mixture feels unusually soft, chill it for 15–20 minutes before shaping.
4. Portion and roll
Scoop portions of about 1 tablespoon each and roll them between your palms into smooth balls. Aim for a similar size so they chill and coat evenly. Place each ball on the prepared tray, leaving a little space between them. If the mixture sticks to your hands, chill it briefly or wipe your hands clean between batches.
5. Chill until firm
Refrigerate the tray for at least 1 hour, or freeze for about 20–30 minutes, until the centers are firm enough to handle. Do not leave them in the freezer until rock-hard if you plan to dip immediately; very cold centers can cause the coating to set too quickly and sometimes crack as temperatures change. If the centers become extremely firm, let them stand for a few minutes before dipping.
6. Melt the coating
Place the melting wafers or chopped chocolate in a dry, microwave-safe bowl. Microwave in 20-second intervals, stirring thoroughly after each interval, until mostly melted. Continue stirring until the remaining pieces melt from the residual heat. Alternatively, melt the chocolate in a heatproof bowl set over a saucepan of gently simmering water, making sure the bottom of the bowl does not touch the water. Keep all water and steam away from the chocolate, since even a little moisture can make it seize.
7. Dip the truffles
Work with a few centers at a time and keep the rest chilled. Drop one ball into the melted coating and use a fork or dipping tool to turn it until covered. Lift it out, tap the fork gently against the edge of the bowl to remove excess coating, and slide the truffle onto the lined tray. A toothpick can help ease it off the fork. If the coating becomes thick, warm it very briefly and stir; do not overheat it.
8. Decorate while the coating is wet
Immediately add holiday sprinkles to each dipped truffle before the coating sets. For a drizzle design, let the first coating firm, then melt the contrasting chocolate and drizzle it over the tops using a piping bag or spoon. You can also use a combination of white-coated and dark-coated truffles for a varied platter.
9. Let the coating set
Refrigerate the tray for about 15–20 minutes, or until the coating is firm. Once set, transfer the truffles to an airtight container. Keep them refrigerated until serving because the centers contain cream cheese.
Tips for Smooth, Neat Truffles
- Make fine crumbs. Fine crumbs create a smooth center that is easier to roll and dip.
- Do not add too much cream cheese at once. Cookie brands differ; mix until the dough holds together rather than adding extra cheese automatically.
- Chill before dipping. Firm centers are less likely to fall apart in warm chocolate.
- Use a deep, narrow bowl. A deeper pool of coating makes it easier to submerge each ball without using excessive chocolate.
- Keep water away from chocolate. Wet utensils or steam can make melted chocolate seize and turn grainy.
- Work in small batches. Keep most of the centers in the refrigerator while dipping a few at a time.
- Decorate promptly. Sprinkles will not stick once the chocolate shell has set.
Common Problems and How to Fix Them
The mixture is too sticky to roll. It may be too warm or contain more cream cheese than needed. Chill it for 20–30 minutes before shaping. If it still feels very soft, mix in a little more finely crushed cookie crumb.
The truffles fall apart during dipping. The centers may not be cold or firm enough, or the coating may be too hot. Chill the centers again and let the melted coating cool slightly while remaining fluid.
The chocolate coating is too thick. Warm it gently and stir. If using ordinary chocolate, a small amount of neutral oil or shortening can loosen it. Add only a little at a time so the coating still sets.
The coating cracks. A very cold center meeting warm coating can create temperature stress. Chill until firm rather than frozen solid, and avoid a large temperature difference. Let frozen centers stand briefly before dipping.
The chocolate turns grainy or clumpy. Moisture may have entered the bowl, or the chocolate may have overheated. Use completely dry bowls and utensils, heat in short intervals, and stir often. Seized chocolate is difficult to restore for dipping, so prevention is best.
Make-Ahead, Storage, and Freezing
Christmas Oreo Truffles are convenient to prepare ahead. You can make and roll the centers up to 2 days in advance, store them covered in the refrigerator, and dip them closer to the event. Fully coated truffles can also be made ahead and stored in an airtight container in the refrigerator for up to 1 week. Separate layers with parchment so the decorations do not rub against one another.
For freezing, arrange the finished truffles in a single layer until firm, then transfer them to a freezer-safe container with parchment between layers. Freeze for up to 2 months. Thaw them in the refrigerator while still covered to reduce condensation on the chocolate shell. Avoid repeatedly moving them between warm and cold environments. Because the filling contains cream cheese, do not store them at room temperature for extended periods; put out only the amount you plan to serve.
Frequently Asked Questions
Do I remove the filling from the Oreo cookies?
No. Crush the whole sandwich cookies, including the filling. It contributes sweetness and helps bind the crumbs with the cream cheese.
Can I make Oreo truffles without a food processor?
Yes. Place the cookies in a sturdy sealed bag and crush them with a rolling pin until the crumbs are very fine. A few larger pieces may remain, but finer crumbs make smoother truffles.
Can I use chocolate chips for dipping?
You can, but chocolate chips may melt thicker than coating wafers. Melt slowly and stir well. If necessary, add a small amount of neutral oil or shortening to improve flow, knowing that the final shell may be softer than a purpose-made candy coating.
How long do Oreo truffles need to chill?
Chill the rolled centers for about 1 hour in the refrigerator or 20–30 minutes in the freezer, until firm. Chill again after dipping until the coating has set.
Do these truffles need refrigeration?
Yes. The centers contain cream cheese, so store the truffles in the refrigerator and serve them chilled or briefly brought out just before eating.
Serving and Gifting Ideas
Arrange the truffles in mini paper candy cups on a holiday platter, or place them in a food-safe gift box with parchment between layers. They pair well with coffee, hot chocolate, and other small Christmas desserts. If serving at a party, keep most of the batch refrigerated and replenish the platter as needed.
These Christmas Oreo Truffles are a simple way to add a homemade touch to holiday celebrations. Fine cookie crumbs, a properly chilled center, and gently melted coating are the keys to a smooth result. Decorate them in your favorite Christmas colors, make them ahead, and keep them chilled until it is time to share.
Leave a Reply