
Peanut butter cookies are a classic homemade treat with a rich nutty flavor, lightly crisp edges, and a tender center. Their familiar crisscross pattern is more than decoration: pressing the dough gently with a fork helps flatten the cookies so they bake evenly. This recipe makes a dependable batch with a soft, chewy middle and just enough structure to hold together once cooled.
The dough uses creamy peanut butter, butter, brown sugar, and granulated sugar. Brown sugar adds moisture and a little chew, while granulated sugar helps the edges turn golden. A short chill is useful if the dough feels very soft, but the recipe is designed to be simple enough for an everyday baking session.
Why You’ll Love These Peanut Butter Cookies
- Classic flavor: Peanut butter gives the cookies a deep, roasted-nut taste.
- Easy preparation: No mixer is essential; a sturdy spoon and mixing bowl will work.
- Great texture: A balance of butter, sugars, and flour helps create tender centers and lightly crisp edges.
- Freezer-friendly: Freeze the dough balls or baked cookies for a future treat.
Ingredients You’ll Need 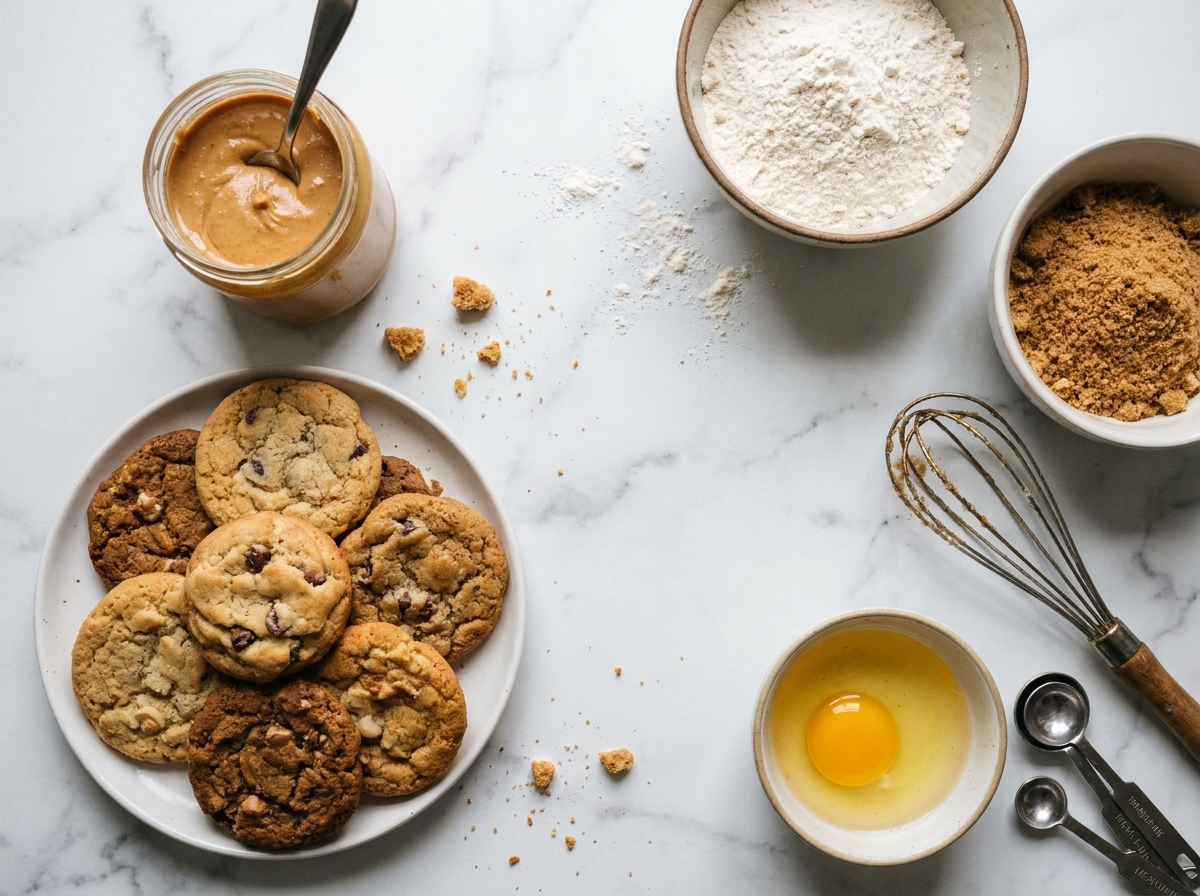
- 1 cup creamy peanut butter: Use conventional, well-stirred creamy peanut butter for the most predictable texture.
- ½ cup unsalted butter: Softened to room temperature.
- ¾ cup packed light brown sugar: Adds moisture and a caramel-like note.
- ½ cup granulated sugar: Helps the edges spread and lightly crisp.
- 1 large egg: Provides structure and binds the dough.
- 1 teaspoon vanilla extract: Rounds out the flavor.
- 1½ cups all-purpose flour: Spoon and level when measuring.
- ½ teaspoon baking soda: Helps the cookies spread and brown.
- ¼ teaspoon baking powder: Gives a little lift.
- ½ teaspoon fine salt: Balances the sweetness; reduce slightly if the peanut butter is salted.
Ingredient Notes
Conventional creamy peanut butter is recommended because natural peanut butter can separate and vary in oil content, which may make the dough greasy or crumbly. If using natural peanut butter, stir it very thoroughly and expect that the dough may need chilling. For a slightly crunchy cookie, replace part or all of the creamy peanut butter with crunchy peanut butter. Do not add extra flour unless the dough is genuinely too sticky after resting.
How to Make Peanut Butter Cookies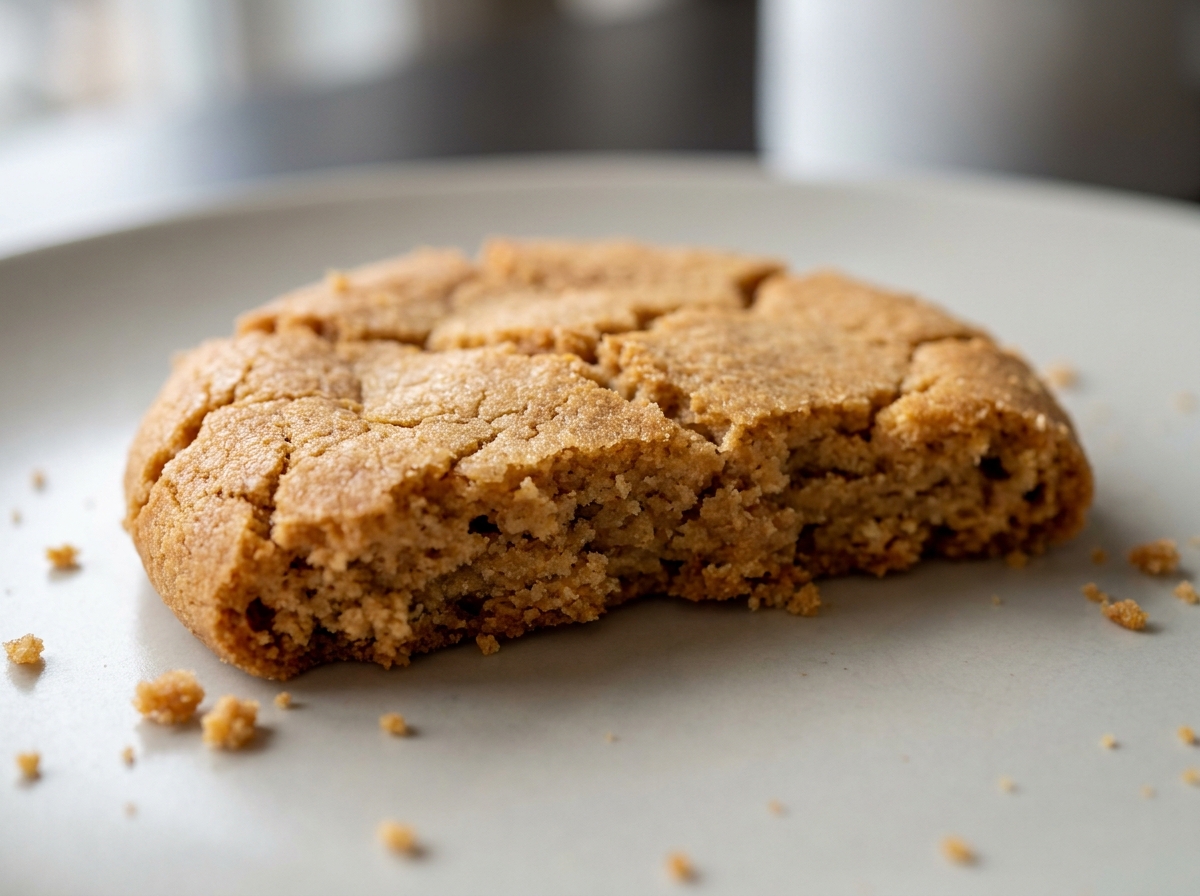
- Heat the oven. Preheat to 350°F (175°C). Line two baking sheets with parchment paper.
- Cream the butter and sugars. In a large bowl, beat the softened butter, brown sugar, and granulated sugar until creamy and evenly combined, about 2 minutes. A hand mixer makes this easier, but a wooden spoon can also work.
- Add peanut butter and egg. Mix in the peanut butter until smooth. Add the egg and vanilla and stir until fully incorporated. Scrape the sides of the bowl.
- Combine dry ingredients. In another bowl, whisk together flour, baking soda, baking powder, and salt.
- Make the dough. Add the dry ingredients to the peanut butter mixture in two additions. Stir just until no dry flour remains. Avoid overmixing, which can make cookies firm.
- Chill if needed. If the dough feels very soft or sticky, cover and refrigerate for 20–30 minutes. A short chill makes it easier to portion and helps control spreading.
- Portion the cookies. Scoop about 1 tablespoon of dough per cookie and roll into balls. Arrange them about 2 inches apart on the prepared baking sheets.
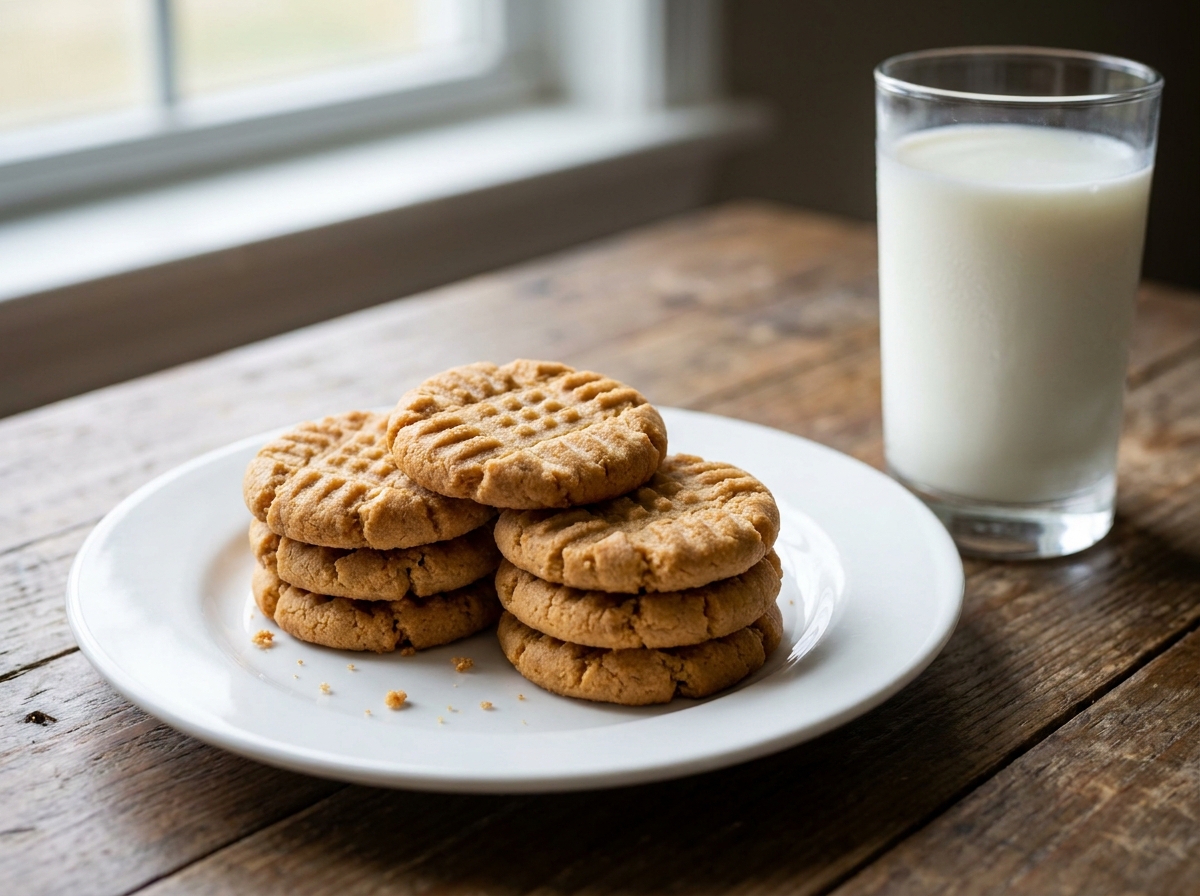
- Make the crisscross pattern. Press each dough ball gently with the back of a fork, then press again at a right angle. Dip the fork lightly in sugar if it sticks.
- Bake. Bake for 9–12 minutes, until the edges look set and lightly golden while the centers still appear a little soft. Do not wait for the centers to become firm in the oven.
- Cool. Leave the cookies on the baking sheet for 5 minutes, then transfer to a wire rack. They will finish setting as they cool.
Tips for the Best Texture
- Measure flour accurately; too much flour is a common reason peanut butter cookies turn dry.
- Use softened butter, not melted butter, for the intended dough texture.
- Do not overbake. Slightly soft centers become tender as the cookies cool.
- Keep dough portions similar in size so they bake evenly.
- Bake one test cookie if you are unsure how much the dough will spread in your oven.
Easy Variations
- Peanut butter chocolate chip: Fold ½ cup chocolate chips into the finished dough.
- Peanut butter blossoms: Bake rounded dough balls without the fork marks and gently press a chocolate candy into each cookie immediately after baking.
- Salty-sweet: Sprinkle a few flakes of sea salt over the cookies before baking.
- Crunchy peanut butter: Use crunchy peanut butter for extra texture.
- Peanut butter sandwich cookies: Cool completely and sandwich two cookies with a thin layer of chocolate or vanilla frosting.
How to Store Peanut Butter Cookies
Once completely cool, store the cookies in an airtight container at room temperature for up to 5 days. Add a small piece of parchment between layers to prevent sticking. For longer storage, freeze baked cookies in a freezer-safe container for up to 2 months. Thaw at room temperature before serving.
You can also freeze portioned dough balls on a tray until firm, then transfer them to a freezer bag. Bake from frozen at 350°F (175°C), adding a couple of minutes to the baking time. Make the fork pattern before baking; if the dough is very firm, let it stand briefly so it can be pressed without cracking.
Frequently Asked Questions
Why are my peanut butter cookies crumbly?
Too much flour, overbaking, or a very dry natural peanut butter can cause crumbly cookies. Measure flour carefully and remove the cookies while their centers are still soft.
Do I have to chill the dough?
Not always. If the dough is easy to roll and holds its shape, you can bake it right away. Chill it briefly if it is sticky or your kitchen is warm.
Can I use natural peanut butter?
Yes, but stir it thoroughly so the oil is evenly distributed. Natural peanut butter varies by brand and may change the dough consistency, so chilling may be helpful.
Why do peanut butter cookies have fork marks?
The dough is relatively thick, so flattening it helps the cookies bake more evenly. The pattern is also the traditional look of this cookie.
Recipe Notes
Use conventional creamy peanut butter for consistent results, measure the flour carefully, and take the cookies out when the edges are set but the centers are still soft. Allow them to rest on the baking sheet before moving.
Final Thoughts
These peanut butter cookies are simple, nostalgic, and easy to make with everyday ingredients. Their rich flavor and tender centers make them a welcome addition to cookie trays, lunchbox treats, or an afternoon snack. Keep a batch of dough in the freezer and freshly baked cookies are never far away.
How to Tell When the Cookies Are Done
Look for edges that have lost their wet shine and are beginning to turn golden. The center can still look soft when you remove the tray from the oven. If you wait until the whole cookie feels firm, it will usually be overbaked by the time it cools. Letting the cookies rest on the baking sheet is part of the baking process: the hot tray gently finishes the centers without exposing them to more direct oven heat.
Choosing the Right Peanut Butter
For a reliable first batch, use a standard creamy peanut butter that is designed to stay blended. Natural peanut butter can work, but brands differ in how much oil separates and how thick the ground peanuts are. If the dough seems oily, chill it before portioning rather than adding a large amount of flour. If it seems dry and cracks when rolled, check that the peanut butter was stirred thoroughly and that the flour was not overmeasured. A small test cookie can help you judge spreading before baking the full tray.
Cookie Size and Baking Sheets
Smaller cookies bake more quickly and tend to have a higher proportion of crisp edge, while larger cookies have more soft center. Keep the portions consistent within each batch. A light-colored baking sheet generally gives you more even browning; a dark sheet may brown the bottoms faster, so begin checking a little earlier. Let pans cool between batches to keep the dough from spreading prematurely.
Leave a Reply