
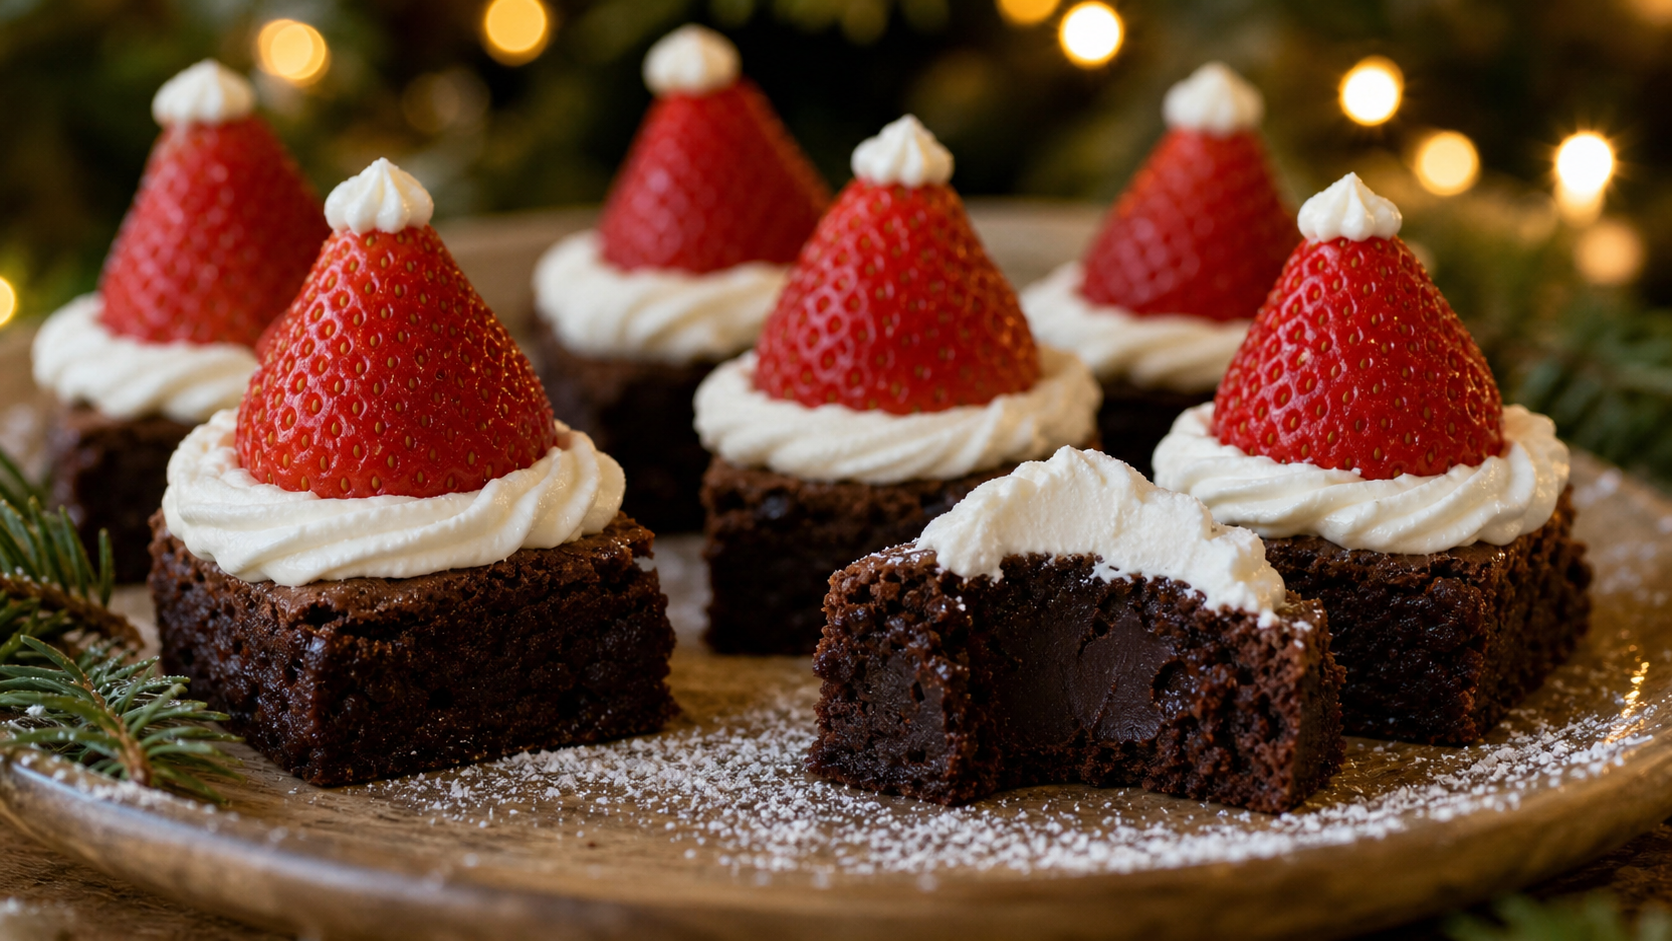
Santa Hat Brownies are a cheerful Christmas dessert made by topping small brownie squares with fresh strawberries and a little white frosting. The brownies provide a rich chocolate base, the strawberries create the red Santa hats, and a small swirl of frosting adds the fluffy trim and pom-pom. They are easy to arrange on a holiday platter and make a fun baking project for a Christmas party, classroom celebration, or family dessert table.
This recipe starts with a simple homemade brownie that is sturdy enough to hold the toppings while staying soft and fudgy. You can use a favorite boxed brownie mix if you prefer a shortcut, but baking the brownies in a rectangular pan and cooling them completely makes cutting and decorating much easier. The strawberries should be dry and similar in size so the finished hats look neat.
Why You’ll Love These Santa Hat Brownies
- Festive without complicated decorating: A strawberry and two small frosting details create the Santa hat look.
- Rich chocolate base: The brownies balance the fresh fruit and sweet topping.
- Easy to portion: Cut the brownies into small squares or rectangles for individual servings.
- Flexible shortcut: A boxed brownie mix can replace the homemade base when time is short.
- Good for holiday gatherings: The bright red strawberries make the platter colorful and inviting.
Ingredients You’ll Need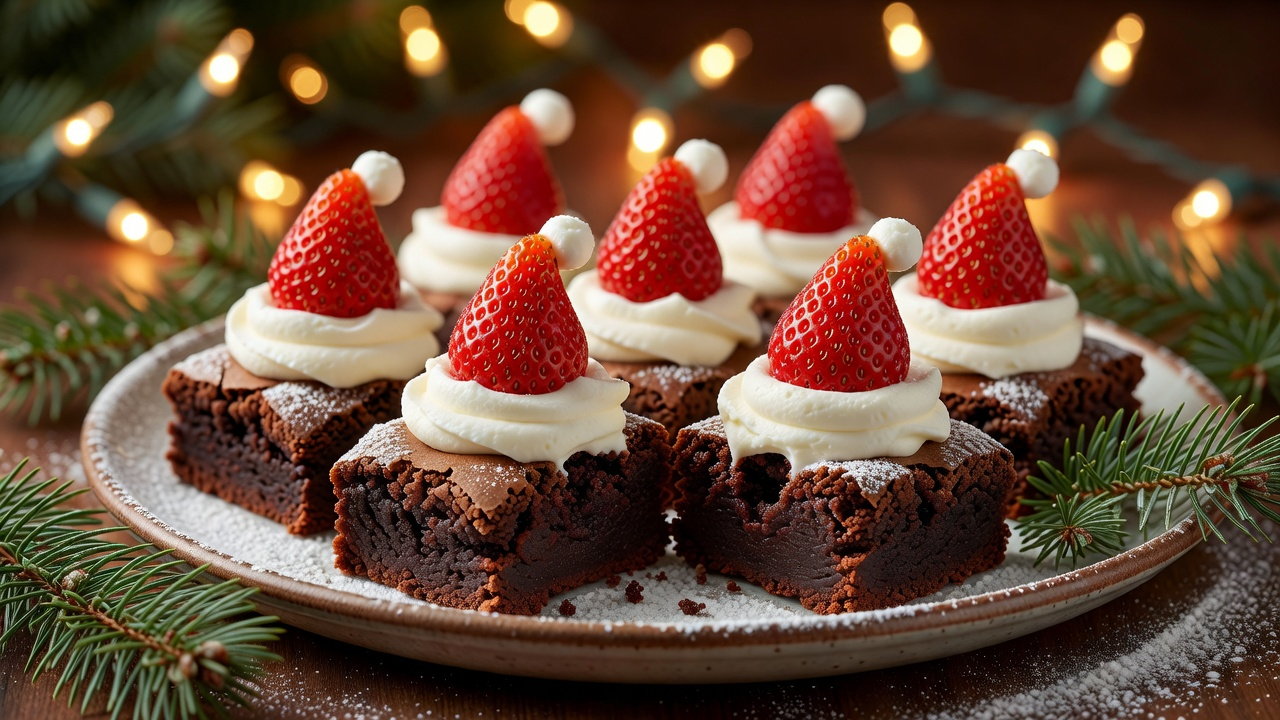
For the brownies
- ½ cup (113 g) unsalted butter
- 4 ounces (113 g) semisweet chocolate, chopped
- 1 cup (200 g) granulated sugar
- 2 large eggs, at room temperature
- 1 teaspoon vanilla extract
- ½ cup (65 g) all-purpose flour
- ¼ cup (25 g) unsweetened cocoa powder
- ¼ teaspoon fine salt
For the Santa hat decorations
- 12–16 medium fresh strawberries, washed and thoroughly dried
- ¾ cup (90 g) powdered sugar
- 4 ounces (113 g) full-fat cream cheese, softened
- 2 tablespoons (28 g) unsalted butter, softened
- ½ teaspoon vanilla extract
- 1–2 teaspoons milk or cream, as needed
Ingredient Notes and Substitutions
Chocolate: Semisweet chocolate gives the brownies a deep flavor without making them excessively sweet. A baking bar melts smoothly. Chocolate chips can be used, although they may contain stabilizers and melt a little differently.
Cocoa powder: Use unsweetened cocoa powder, not sweetened drinking chocolate. Sifting it with the flour helps prevent dry lumps in the batter.
Strawberries: Choose firm berries with a pointed top and a fairly flat base. Similar-sized berries make the decorations look consistent. Wash them before decorating and dry them very well; surface water can make the frosting slide and soften the brownie.
Cream cheese frosting: Cream cheese gives the white trim a slight tang that balances the brownie. For a firmer, sweeter decoration, you can use a simple buttercream made with butter, powdered sugar, vanilla, and a little milk instead.
Pan size: An 8-inch square pan creates thicker brownie squares. A 9-inch square pan makes a thinner batch and may bake faster. This recipe is written for an 8-inch pan.
Equipment
Prepare an 8-inch square baking pan, parchment paper, a medium heatproof bowl, a saucepan or microwave, a whisk, a spatula, a hand mixer, a wire rack, a sharp knife, and a piping bag fitted with a small round or star tip. A zip-top bag with a tiny corner cut off can work if you do not have a piping bag.
How to Make Santa Hat Brownies
1. Prepare the pan and oven
Heat the oven to 350°F (175°C). Line an 8-inch square pan with parchment paper, leaving enough overhang on two sides to lift the brownies out later. Lightly grease the exposed sides of the pan or the parchment. This makes it easier to remove the cooled brownie slab without damaging the edges.
2. Melt the butter and chocolate
Place the butter and chopped semisweet chocolate in a heatproof bowl. Melt them gently over a saucepan of barely simmering water, stirring until smooth, or microwave in short 20-second intervals, stirring each time. Let the mixture cool for several minutes. It should remain fluid but should not be hot when the eggs are added.
3. Mix the sugar, eggs, and vanilla
Whisk the sugar into the melted chocolate mixture. Add the eggs one at a time, whisking until combined, then mix in the vanilla. Do not beat excessively; the goal is a smooth batter, not a large amount of incorporated air. Excessive whipping can change the texture and create a more cake-like brownie.
4. Fold in the dry ingredients
Sift or whisk the flour, cocoa powder, and salt in a separate bowl. Add them to the chocolate mixture and fold with a spatula just until no dry streaks remain. Scrape the bottom and corners of the bowl. Stop mixing as soon as the batter is combined to help keep the brownies tender.
5. Bake the brownies
Spread the batter evenly in the prepared pan. Bake for approximately 20–26 minutes, checking toward the earlier end of the range. The edges should look set and a toothpick inserted near the center should come out with a few moist crumbs, not wet batter. A toothpick that comes out completely clean can indicate the brownies have baked longer than necessary.
6. Cool completely
Place the pan on a wire rack and cool until the brownies are completely at room temperature. Use the parchment overhang to lift the slab out of the pan. For especially neat cuts, refrigerate the slab for 20–30 minutes before slicing. Wipe the knife between cuts to keep the edges clean.
7. Prepare the strawberries
Remove the green tops from the strawberries by slicing off just enough to create a flat base. Keep the pointed ends intact; they will face upward to form the hats. Pat the berries dry again with paper towels. If the berries are very large, cut them in half horizontally and choose the pointed upper portions, though whole medium berries usually give the clearest hat shape.
8. Make the white frosting
Beat the softened cream cheese and butter together until smooth. Add the powdered sugar gradually, then mix in the vanilla. Add milk or cream a few drops at a time until the frosting is thick enough to pipe but still soft. If it feels loose, refrigerate it for 10–15 minutes. If it is too stiff, add a little more milk.
9. Cut and decorate the brownies
Cut the cooled brownie slab into 12–16 small squares or rectangles. Pipe a small ring or mound of white frosting near the center of each brownie. Set a strawberry on top with its pointed end facing upward. Pipe a narrow band of frosting around the bottom of the strawberry and a small dot at its tip to complete the Santa hat. Work gently so the berries stay upright.
10. Chill before serving
Arrange the finished brownies on a tray and refrigerate for about 20–30 minutes to help the frosting firm. Keep them chilled until serving because the topping contains cream cheese and fresh fruit.
Tips for the Best Santa Hat Brownies
- Cool the brownies fully. Warm brownies can melt the frosting and make the strawberries slide.
- Dry the strawberries thoroughly. Moisture on the fruit can loosen the frosting and create puddles on the brownie.
- Choose berries with flat bases. A stable base helps the hats stand upright.
- Keep the frosting thick. A frosting that is too soft will not hold the trim and pom-pom shape.
- Use a sharp knife. Clean the blade between cuts for neat brownie squares.
- Decorate close to serving. Fresh strawberries are best when added the same day the brownies are served.
Common Problems and How to Fix Them
The brownies are dry. They may have baked too long or too much flour may have been added. Measure flour by spooning it into the cup and leveling it, and start checking the brownies early. A few moist crumbs on the toothpick are a good sign.
The brownies crumble when cut. Let them cool completely and chill briefly before slicing. Use a sharp knife and avoid cutting while the center is still warm.
The strawberries slide off. The berries may be wet, the frosting may be too soft, or the brownie surface may be uneven. Dry the fruit carefully, chill the frosting if needed, and pipe a small mound to anchor each berry.
The frosting will not hold its shape. Add a little more powdered sugar or chill it briefly. Avoid adding too much milk; a few drops can make a big difference.
The strawberry hats release juice. Fresh fruit naturally releases moisture after cutting. Use firm berries, dry them thoroughly, and assemble near serving time rather than several days ahead.
Using a Boxed Brownie Mix
For a faster version, prepare an 8-inch or 9-inch pan of brownies using a boxed mix and follow the package instructions. Let the brownies cool completely before cutting and decorating. Check the package yield and pan size so the squares are not too thin to support the strawberries. The homemade frosting and strawberry hats can be used exactly as described above.
Make-Ahead and Storage
The brownie base can be baked one day ahead. Once completely cool, wrap it well and keep it at room temperature in a cool place, or refrigerate it for easier cutting. The frosting can also be prepared a day ahead and stored covered in the refrigerator; bring it to a workable consistency and stir or briefly rebeat before piping.
For the freshest appearance, assemble the strawberry hats on the day you plan to serve them, ideally a few hours beforehand. Store decorated brownies in a single layer in an airtight container in the refrigerator and enjoy within about 2 days. Fresh strawberries become softer over time, so these are not ideal for long storage at room temperature. Do not freeze the fully decorated brownies; the strawberries can become watery when thawed. The plain brownie base can be frozen, wrapped well, for up to 2 months.
Frequently Asked Questions
Can I make Santa Hat Brownies the day before?
You can bake the brownie base and prepare the frosting the day before. For the freshest fruit and neatest appearance, add the strawberries and finish decorating on the day you plan to serve them.
Can I use store-bought frosting?
Yes. Choose a thick vanilla frosting that can hold its shape when piped. If it is too soft, chill it briefly or mix in a little powdered sugar.
Do I need to refrigerate Santa Hat Brownies?
Yes, once decorated with cream cheese frosting and fresh strawberries, store them in the refrigerator. Keep them chilled until serving and return leftovers promptly.
What size strawberries work best?
Medium strawberries with pointed tops and reasonably flat bases are easiest to use. Try to choose berries of similar height so the finished platter looks consistent.
Can I use a different brownie recipe?
Yes. A favorite fudgy brownie recipe or boxed mix will work. Choose a recipe that produces brownies firm enough to cut into squares and support the toppings.
Serving Ideas
Arrange the brownies in rows on a white platter or place each one in a small paper treat cup. They look especially festive alongside sugar cookies, peppermint bark, and chocolate truffles. For a party, keep a second tray chilled and refill the serving platter as needed so the strawberries and frosting stay fresh.
Santa Hat Brownies are a simple way to make a familiar chocolate dessert feel festive. Bake a sturdy, fudgy base, cool it completely, and use dry strawberries and thick frosting for decorations that stay in place. With those details taken care of, these cheerful brownie bites are ready for a holiday dessert table.
Leave a Reply