
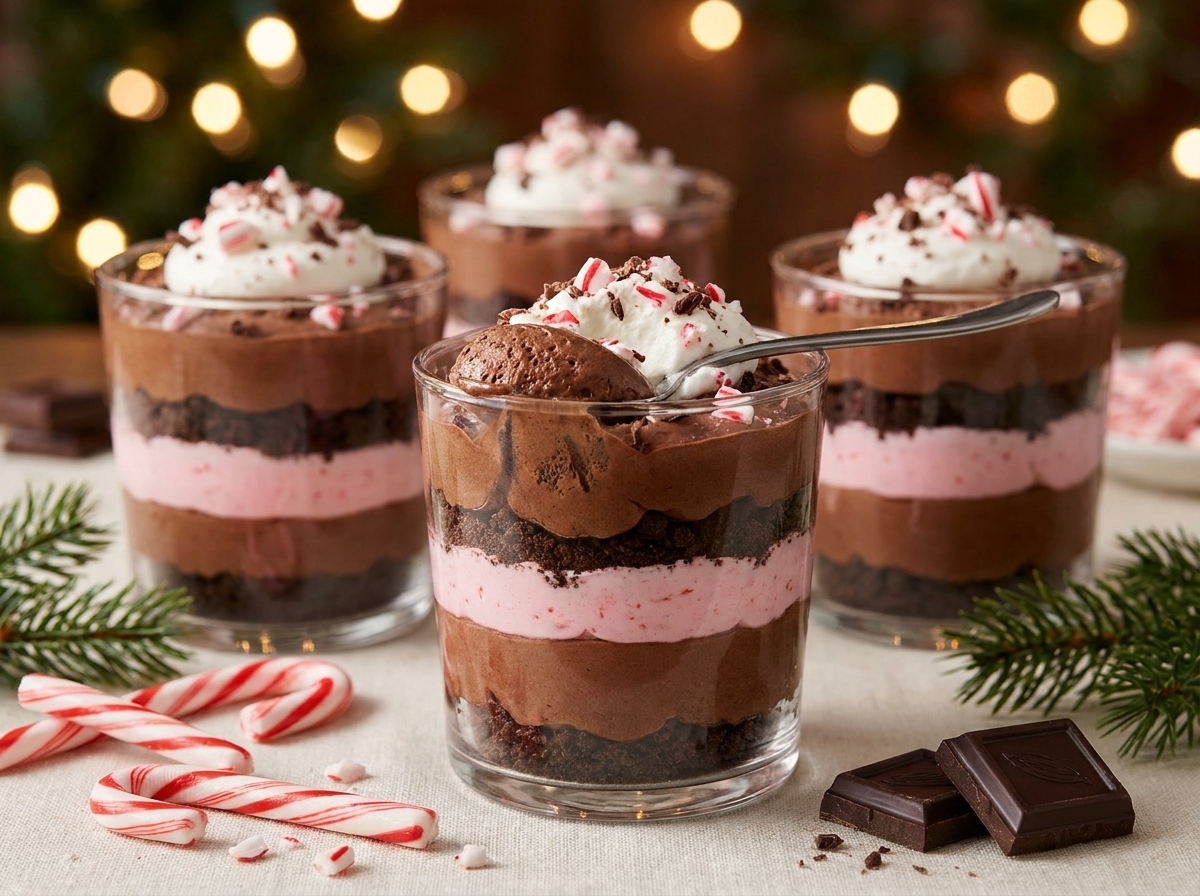
Chocolate Peppermint Dessert Cups are a festive layered treat with the flavors of rich chocolate and cool peppermint in every spoonful. A base of chocolate cookie crumbs is topped with a smooth chocolate pudding-style layer and finished with lightly sweetened peppermint whipped cream. Crushed peppermint candy or chocolate shavings add a crisp finishing touch, making the cups look attractive without the work of slicing and decorating a large cake.
Individual dessert cups are useful for holiday dinners and parties because they can be assembled ahead and served straight from the refrigerator. This version uses a simple homemade chocolate layer that sets into a creamy, spoonable texture. The peppermint is kept in the topping and garnish so it brightens the chocolate without overpowering it. Use small glasses, dessert cups, or clear jars to show off the layers.
Why You’ll Love These Chocolate Peppermint Dessert Cups
- No complicated baking: The layered filling is prepared on the stovetop and chilled, so there is no cake to bake or frost.
- Individual portions: Small cups are easy to serve at parties and holiday dinners.
- Make-ahead convenience: The chocolate layer can be chilled in the cups before the whipped topping is added.
- Balanced holiday flavor: Chocolate provides richness while peppermint adds a fresh finish.
- Easy to customize: Adjust the cookie base, topping, and garnish to suit the occasion.
Ingredients You’ll Need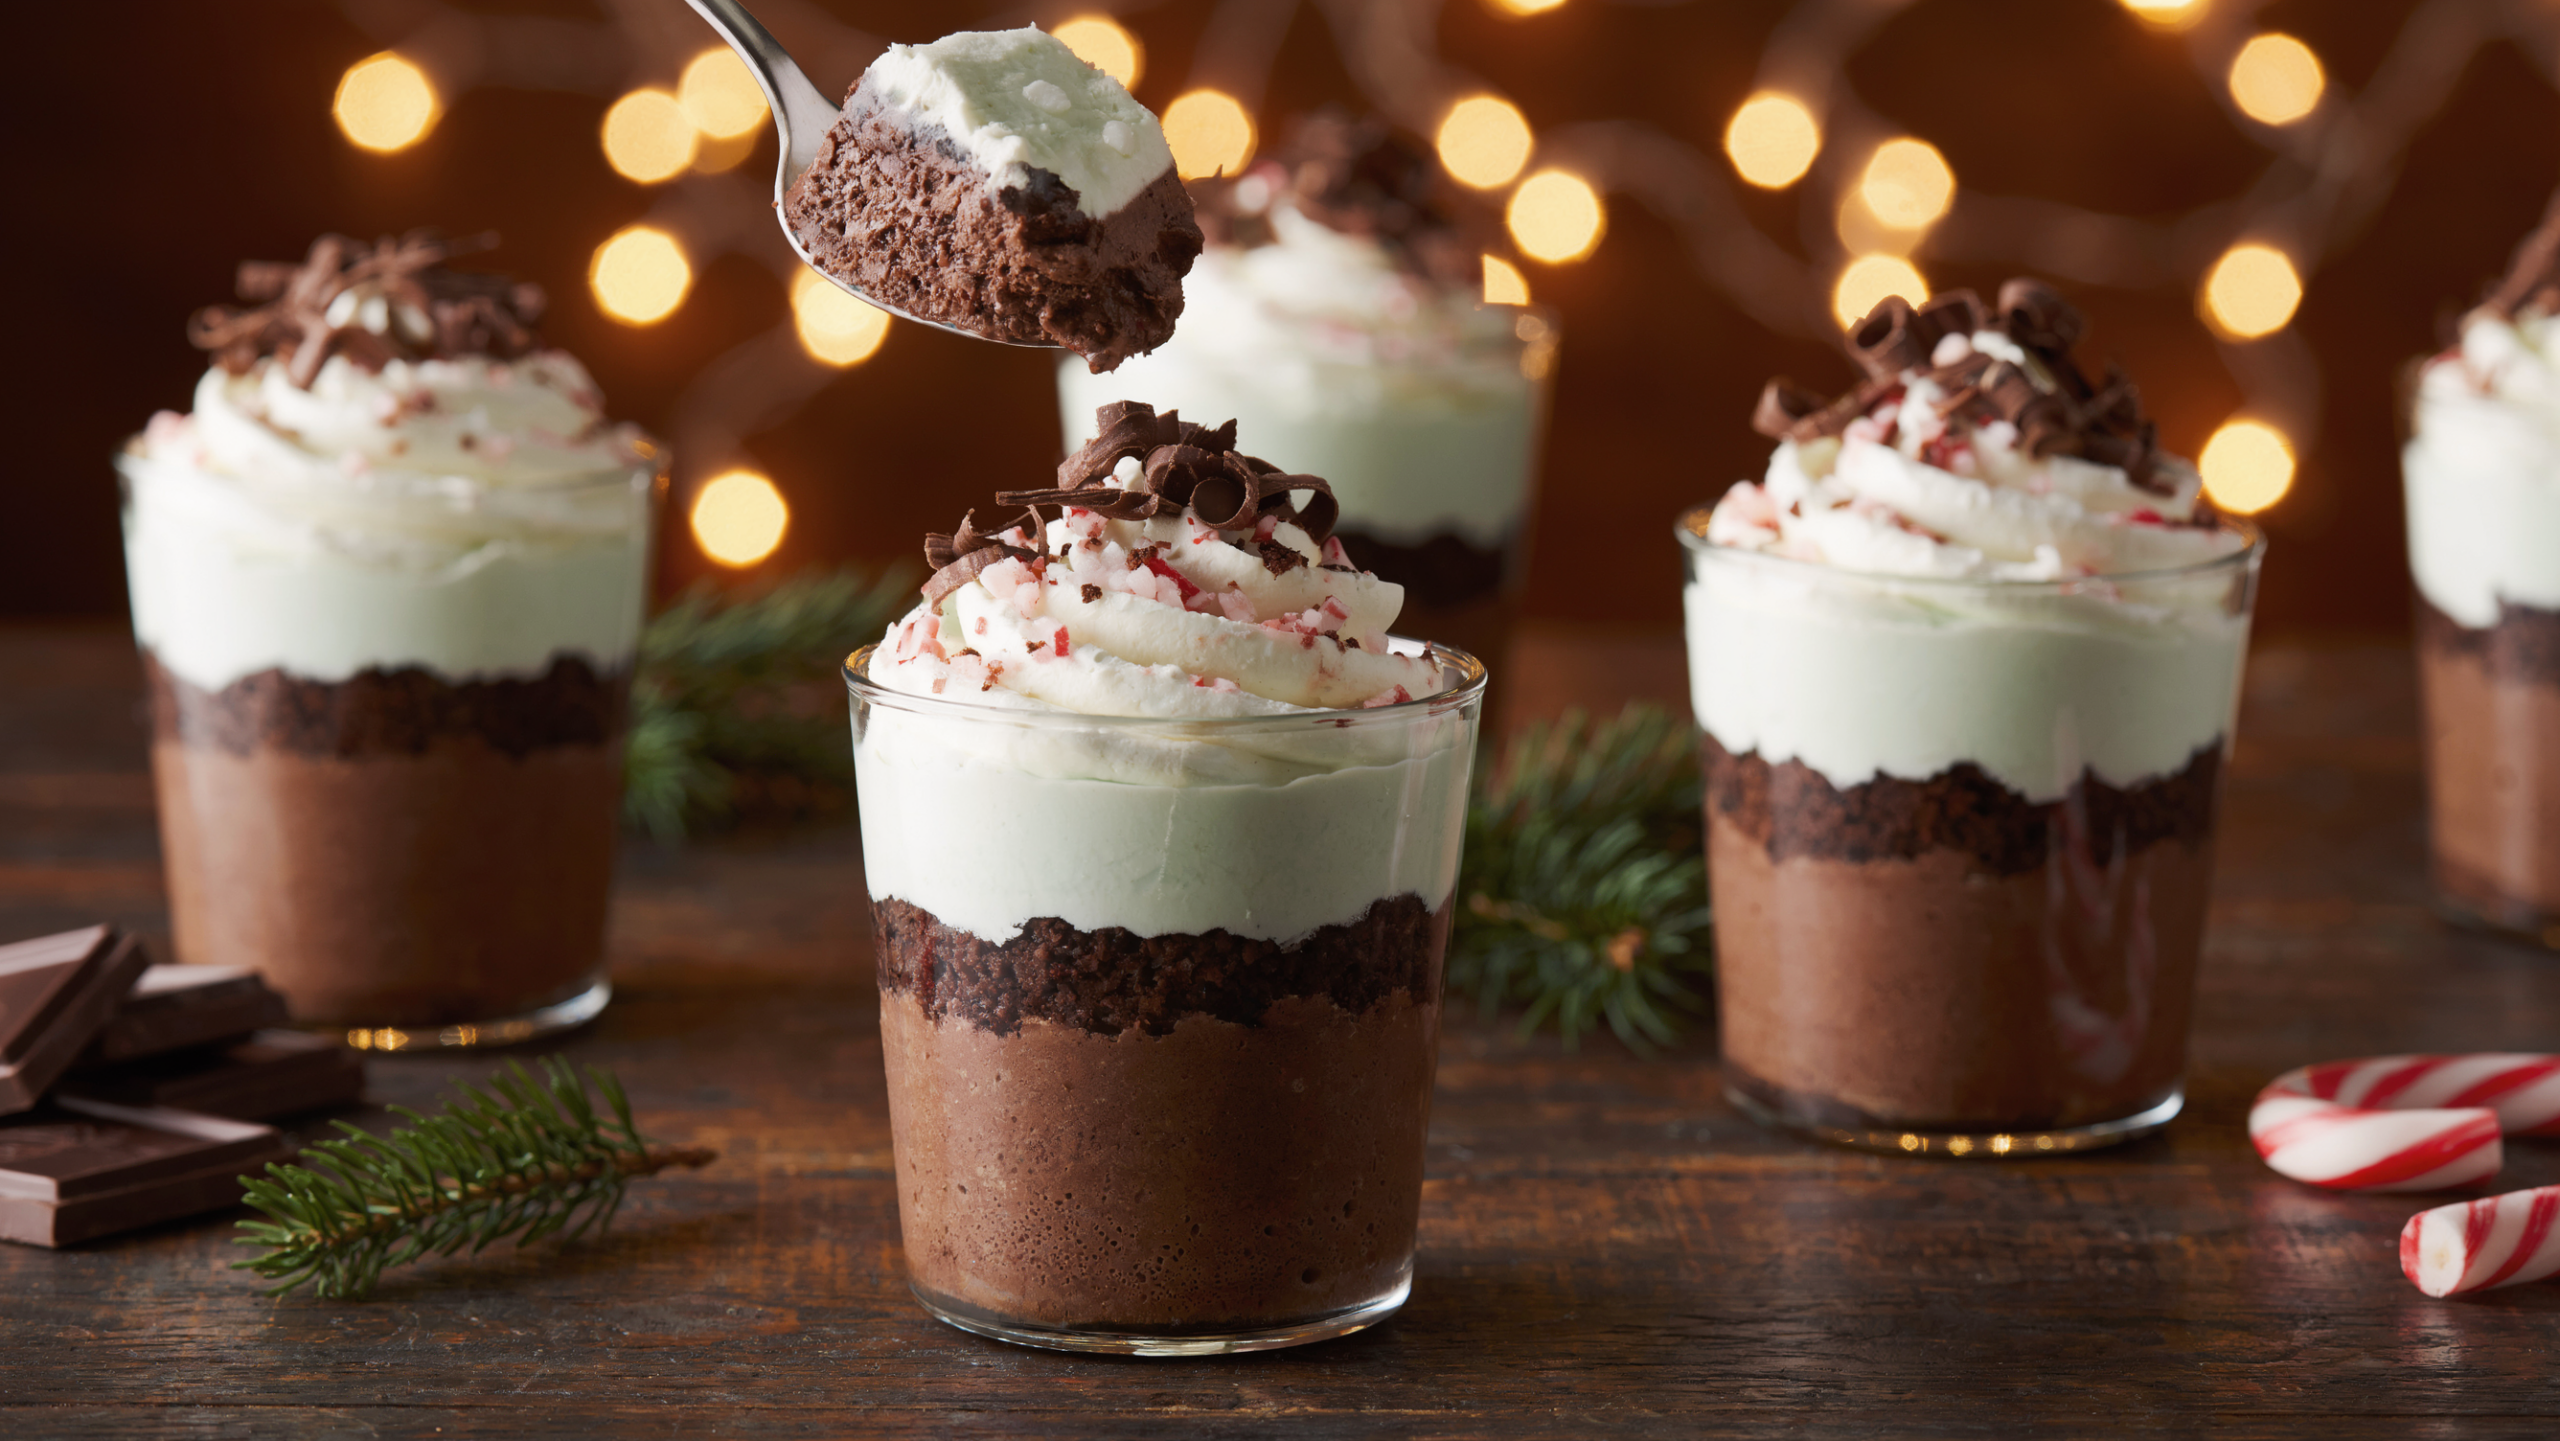
For the cookie base
- 1½ cups (about 165 g) finely crushed chocolate sandwich cookie crumbs
- 3 tablespoons (42 g) unsalted butter, melted
For the chocolate layer
- 2 cups (480 ml) whole milk
- ½ cup (100 g) granulated sugar
- ¼ cup (25 g) unsweetened cocoa powder
- 3 tablespoons (24 g) cornstarch
- ¼ teaspoon fine salt
- 4 ounces (113 g) semisweet chocolate, finely chopped
- 2 large egg yolks
- 1 teaspoon vanilla extract
- 1 tablespoon unsalted butter
For the peppermint whipped cream
- 1 cup (240 ml) cold heavy whipping cream
- 2 tablespoons powdered sugar
- ⅛ teaspoon peppermint extract, or to taste
- ½ teaspoon vanilla extract
For decorating
- Crushed peppermint candies or candy canes, optional
- Chocolate shavings or mini chocolate chips, optional
- Small chocolate cookies, optional
Ingredient Notes and Substitutions
Chocolate cookies: Chocolate sandwich cookies provide a sweet, familiar base. Crush them finely so the layer holds together when pressed into the cups. You can use plain chocolate wafer cookies instead; if they are less sweet, add 1 tablespoon of sugar to the crumbs if desired.
Semisweet chocolate: Chopped baking chocolate melts smoothly into the warm pudding and adds depth. Choose semisweet chocolate for a balanced result. Dark chocolate can be used for a less sweet dessert, while milk chocolate will make the filling sweeter and softer in flavor.
Cocoa powder: Use unsweetened cocoa powder. It reinforces the chocolate flavor and helps the pudding taste rich rather than simply sweet.
Heavy cream: Cream with at least 30% milk fat is best for a topping that holds soft peaks. Keep it cold until whipping.
Peppermint extract: Peppermint extract is concentrated, so begin with a small amount. Add more only after tasting. Peppermint oil and peppermint extract are not always interchangeable in equal amounts, so follow the product label if using a different product.
Equipment
Use 6–8 small dessert glasses or cups, a saucepan, a whisk, a heatproof mixing bowl, a fine-mesh sieve if needed, a hand mixer, a spatula, and a piping bag or spoon for the topping. The exact number of portions depends on the size of your serving cups. Clear cups show the layers particularly well.
How to Make Chocolate Peppermint Dessert Cups
1. Prepare the cookie crumbs
Place the chocolate sandwich cookies in a food processor and pulse into fine crumbs. Alternatively, crush them in a sealed bag with a rolling pin. Transfer the crumbs to a bowl and stir in the melted butter until evenly moistened. The mixture should resemble damp sand and hold together when pressed.
2. Divide the cookie base
Spoon the crumbs into the bottoms of 6–8 dessert cups, depending on their size. Use the back of a spoon to press them into a compact, even layer. Place the cups in the refrigerator while you prepare the chocolate filling. Chilling helps the butter firm and keeps the crumb layer from mixing too much into the pudding.
3. Mix the dry pudding ingredients
In a medium saucepan, whisk together the sugar, cocoa powder, cornstarch, and salt until no large cocoa lumps remain. In a separate bowl, whisk the egg yolks with about ½ cup of the milk until smooth. Gradually whisk the remaining milk into the dry ingredients to make a smooth mixture.
4. Temper the egg yolks
Warm the milk mixture over medium heat, whisking constantly, until it is steaming and beginning to thicken slightly. Slowly pour about ½ cup of the hot mixture into the egg yolks while whisking continuously. This gradual addition raises the temperature of the yolks without scrambling them. Pour the warmed yolk mixture back into the saucepan, whisking as you do so.
5. Cook until thickened
Continue cooking over medium to medium-low heat, whisking constantly and scraping the bottom and corners of the pan. Bring the mixture to a gentle bubble and cook for about 1 minute after it thickens, following a steady whisking motion. It should become thick enough to coat the back of a spoon. Avoid high heat, which can scorch the milk or cause lumps.
6. Add the chocolate and flavorings
Remove the saucepan from the heat. Add the chopped semisweet chocolate, butter, and vanilla. Let the mixture stand for about 1 minute, then whisk until the chocolate and butter have melted and the pudding looks glossy. If a few lumps remain, pass it through a fine-mesh sieve into a clean bowl.
7. Fill the dessert cups
Spoon or pour the warm chocolate pudding over the chilled cookie bases, dividing it evenly among the cups. Leave enough space at the top for the whipped cream. Smooth the surfaces gently. Press a piece of plastic wrap directly against the pudding if you want to prevent a skin from forming, or leave the cups uncovered until the initial heat has dissipated and then cover them carefully.
8. Chill until set
Refrigerate the cups for at least 3–4 hours, or until the chocolate layer is cold and set. For the neatest layers, make sure the pudding is fully chilled before adding the whipped cream. Keep the cups covered so they do not absorb refrigerator odors.
9. Make the peppermint whipped cream
Place the cold heavy cream in a chilled bowl. Add the powdered sugar, vanilla, and ⅛ teaspoon peppermint extract. Beat on medium speed until soft to medium peaks form. Taste and add a tiny amount more peppermint if needed. Stop before the cream becomes stiff or grainy. The topping should be fluffy and easy to spoon or pipe.
10. Finish and decorate
Spoon or pipe the peppermint whipped cream over the chilled chocolate layer. Add a small amount of crushed peppermint candy, chocolate shavings, or mini chocolate chips. Add candy cane pieces shortly before serving because they can draw moisture from the cream and soften over time.
Tips for Smooth Layers and Better Flavor
- Whisk the cornstarch thoroughly. Mix it with the sugar and cocoa before adding liquid to reduce lumps.
- Temper the yolks slowly. Add hot milk gradually while whisking so the yolks warm without scrambling.
- Keep the heat moderate. Constant whisking over medium or medium-low heat helps the pudding thicken smoothly without scorching.
- Chill before topping. Warm pudding will melt the whipped cream and blur the layers.
- Use peppermint sparingly. A small amount gives a clean mint flavor; too much can make the dessert taste medicinal.
- Decorate near serving. Crushed candy canes stay crispest when added shortly before the cups reach the table.
Common Problems and How to Fix Them
The pudding has lumps. Cocoa or cornstarch may not have been whisked into the milk evenly, or the mixture may have heated too quickly. Whisk the dry ingredients thoroughly before adding liquid, cook over moderate heat, and strain the pudding if needed.
The pudding is too thin. It may not have cooked long enough to activate the cornstarch, or the measurements may have been inaccurate. Return it to a saucepan and heat gently while whisking until it thickens and reaches a gentle bubble. Let it chill fully before judging its final texture.
The pudding is too thick. It may have cooked too long or lost too much moisture. Whisk in a tablespoon of milk at a time while the mixture is still warm until it becomes spoonable.
The whipped cream becomes grainy. It has likely been overwhipped. If it is only slightly overbeaten, gently fold in a tablespoon or two of cold liquid cream. If it has separated significantly, it may not return to a smooth topping.
The candy garnish becomes sticky. Peppermint candy absorbs moisture from the topping. Add it shortly before serving, or serve it in a small bowl so guests can sprinkle it on their own portions.
Make-Ahead Instructions
The cookie base and chocolate layer can be prepared a day ahead. Assemble those layers in the serving cups, cover, and refrigerate. Make the peppermint whipped cream and add it on the day of serving for the freshest texture. If you need to prepare the entire dessert in advance, pipe the topping a few hours ahead and wait until serving time to add crushed candy canes or other crunchy decorations.
Storage
Keep the dessert cups covered in the refrigerator because they contain dairy, egg yolks, and whipped cream. For the best texture, enjoy them within 2–3 days. The cookie base gradually softens as it sits beneath the pudding, which is normal for a layered dessert. Do not leave the cups at room temperature for an extended period, especially during a party; bring out a few at a time and keep the rest chilled.
Freezing is not recommended for the fully assembled cups. The pudding and whipped cream can change texture after thawing, and the cookie base may become soggy. If you want to work ahead, prepare the chocolate pudding layer and cookie crumbs separately, then assemble and chill the cups before serving.
Frequently Asked Questions
Can I use instant chocolate pudding?
Yes. Prepare instant chocolate pudding according to the package directions and spoon it over the chilled cookie base. The homemade version gives you more control over the chocolate flavor, but the shortcut is useful when time is limited.
How many dessert cups does this recipe make?
It makes approximately 6–8 portions, depending on the size of the glasses and how much room you leave for the whipped topping. Smaller cups are ideal after a large holiday meal.
Can I make these without peppermint extract?
Yes. Leave it out and use vanilla whipped cream instead. You can still add a little crushed peppermint candy as a garnish for a subtle mint flavor.
Why does the pudding need to cool before adding whipped cream?
Warm pudding can melt the whipped cream and cause the layers to run together. Chilling the chocolate layer first helps the topping stay fluffy and distinct.
Can I make the dessert cups the night before?
Yes. Prepare and chill the cookie and chocolate layers overnight. Add the whipped cream the next day, ideally a few hours before serving, and garnish just before serving.
Serving Ideas
Serve the cups cold on a dessert tray with small spoons. Clear glasses show the dark cookie base, chocolate middle, and pale peppermint topping. They pair nicely with sugar cookies, shortbread, or a simple fruit platter. For a holiday buffet, use smaller glasses so guests can enjoy a sweet portion without feeling too full.
Chocolate Peppermint Dessert Cups bring together a crisp cookie crumb base, creamy chocolate pudding, and a light mint topping in an easy individual dessert. Give the chocolate layer enough time to chill, measure the peppermint carefully, and save the crunchy garnish for the last minute. The result is a festive make-ahead treat that is simple to serve and easy to customize.
Leave a Reply