
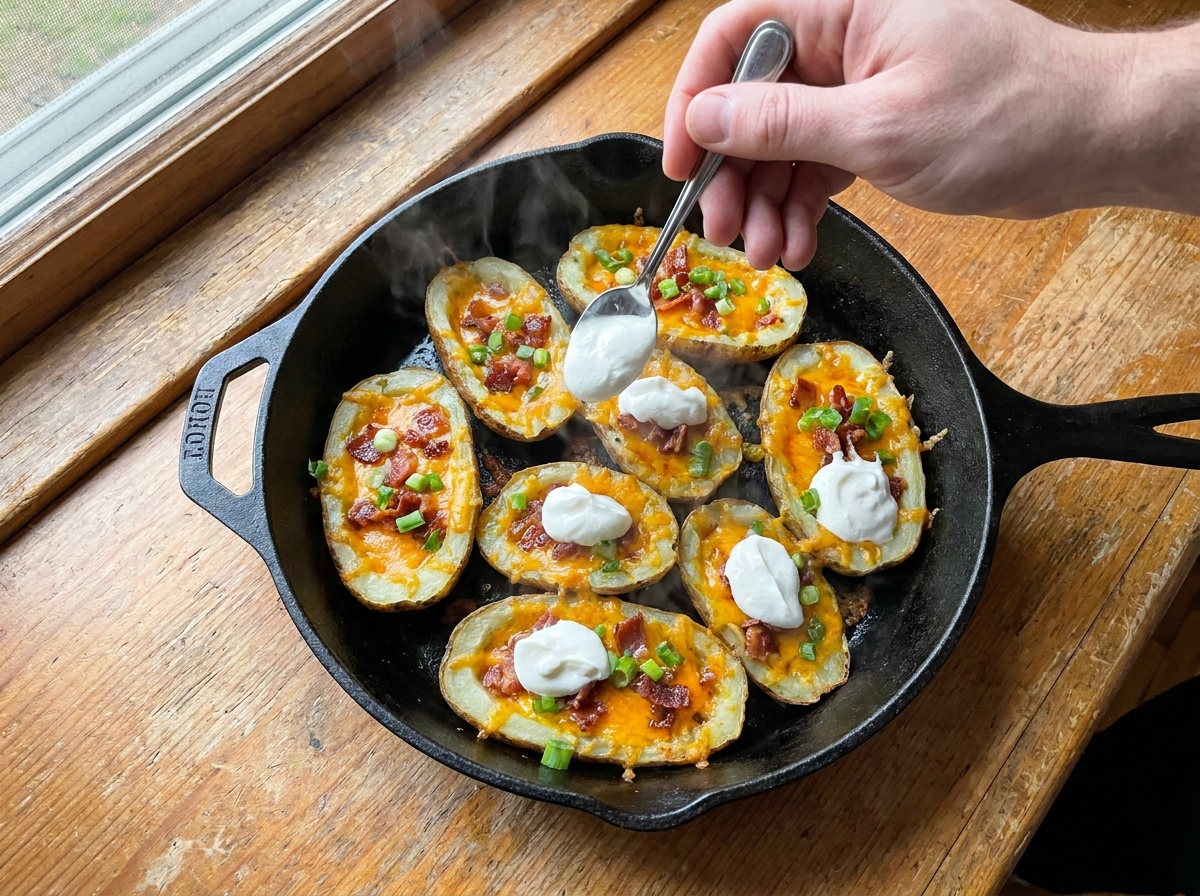
Classic potato skins are a familiar appetizer for good reason. They combine crisp baked potato shells, melted cheddar cheese, smoky bacon, and cool sour cream in a few satisfying bites. They are easy to share, simple to customize, and practical for game-day spreads, casual gatherings, or a fun weekend snack.
The best potato skins start with baked russet potatoes. Once the potatoes are tender, the insides are scooped out carefully, leaving enough potato attached to support the filling. The shells are brushed with oil or butter and returned to the oven until crisp. Cheese and bacon go in near the end so the cheese melts without overcooking the potato edges.
Why Russet Potatoes Work Best
Russet potatoes have sturdy skins and a fluffy interior, making them a dependable choice for potato skins. Their size gives you enough surface area for toppings, and their relatively dry texture helps the shells crisp. Choose medium to large potatoes that are similar in size so they cook at about the same rate. Avoid potatoes with soft spots, green areas, or extensive sprouting.
Ingredients You’ll Need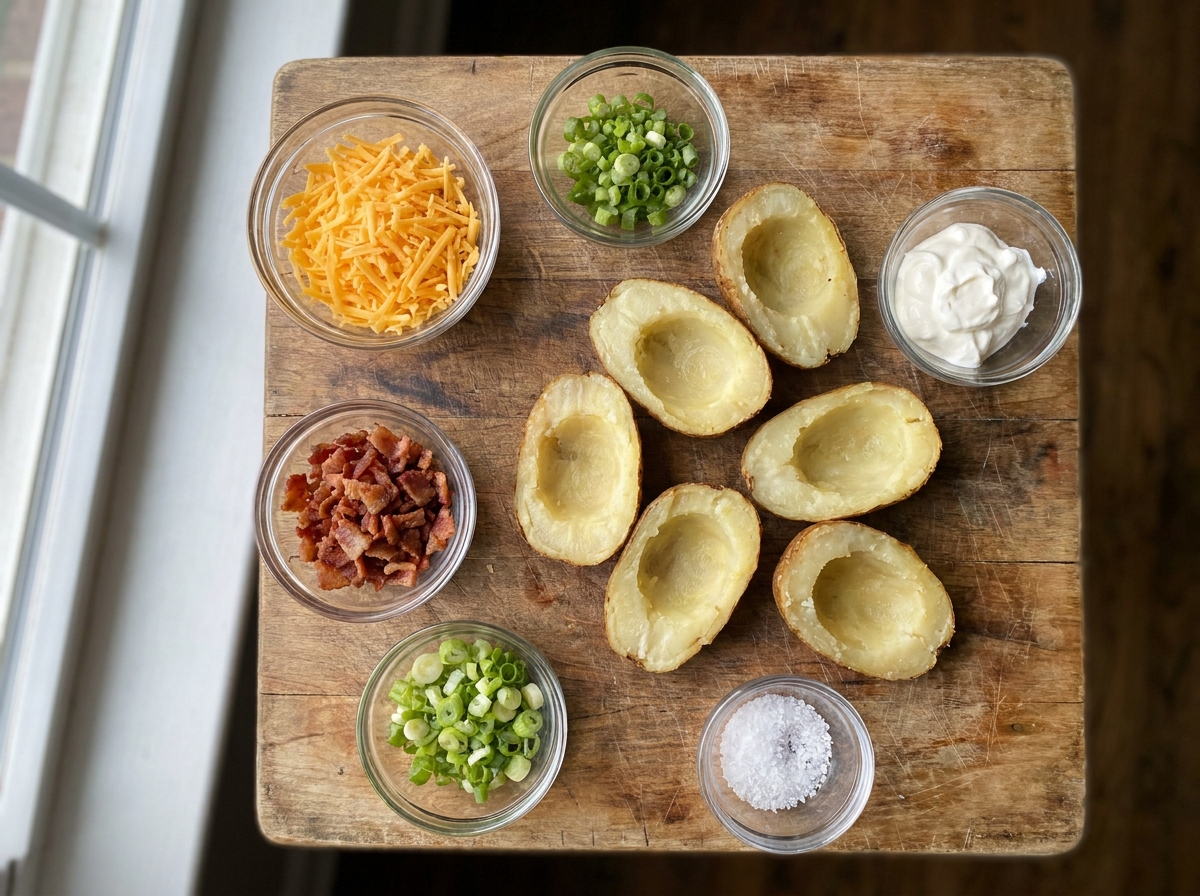
- 4 medium-large russet potatoes: Scrubbed and dried. Similar-sized potatoes bake more evenly.
- 1–2 tablespoons olive oil or melted butter: Helps the skins brown and crisp.
- 1/2 teaspoon kosher salt: Seasons the potato shells.
- 1/4 teaspoon black pepper: Adds gentle savory flavor.
- 1 cup shredded sharp cheddar cheese: Melts well and gives the classic potato-skin flavor. Grate from a block if possible.
- 4–5 strips bacon, cooked and crumbled: Adds smoky, salty crunch. Cook until crisp and drain well.
- 1/3 cup sour cream: For serving or drizzling.
- 2 green onions, thinly sliced: Add freshness and color.
- Chopped chives or parsley, optional: A fresh finishing touch.
Preparing the Potatoes
Scrub the potatoes under running water and dry them thoroughly. Prick each potato several times with a fork so steam can escape during baking. You can rub the skins with a little oil and salt before baking for extra flavor, though the shells will be brushed again after they are cut. Do not wrap the potatoes in foil if you want the skins to dry and crisp in the oven.
How to Make Classic Potato Skins
- Heat the oven. Preheat to 400°F (200°C). Place the potatoes directly on the oven rack or on a baking sheet. If placing them directly on the rack, put a tray on the rack below to catch any drips.
- Bake the potatoes. Bake for about 50–60 minutes, depending on size, until a knife slides into the center easily. The skin should feel dry and the inside should be tender. Let the potatoes cool enough to handle safely.
- Prepare the toppings. While the potatoes bake, cook the bacon until crisp, drain on paper towels, and crumble. Shred the cheddar and slice the green onions. Keep the sour cream chilled until serving.
- Cut the potatoes. Slice each potato in half lengthwise. If they are still very hot, use a clean kitchen towel to hold them. Let steam escape for a minute before scooping.
- Scoop out the centers. Use a spoon to remove most of the fluffy potato flesh, leaving about 1/4 inch attached to the skin so the shells hold their shape. Save the scooped potato for mashed potatoes, potato cakes, or soup.
- Brush and season. Place the potato halves cut-side up on a baking sheet. Brush the inside and outside lightly with oil or melted butter. Season with salt and pepper.
- Crisp the shells. Return the shells to the oven and bake for 10–15 minutes. Turn them over and bake another 5 minutes if you want the edges extra crisp. Watch closely so the thin edges do not burn.
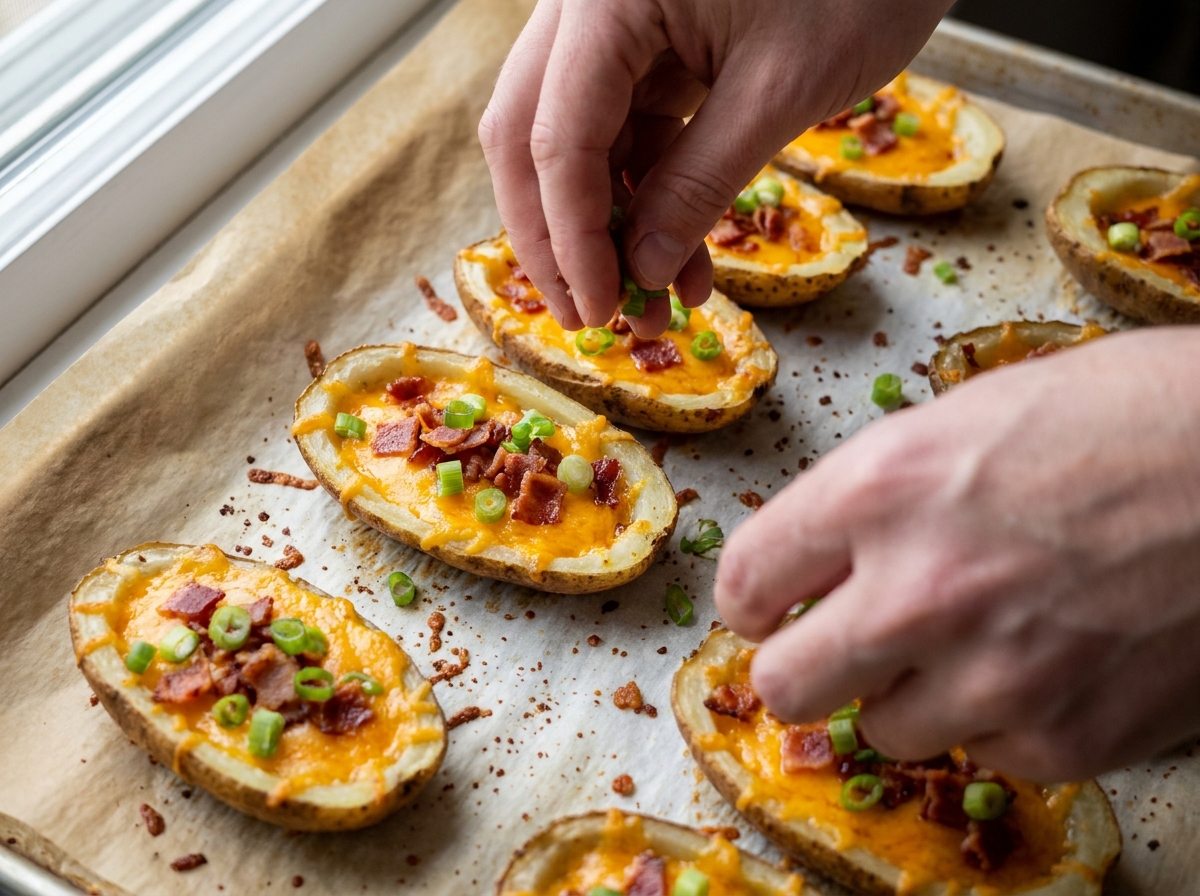
- Add cheese and bacon. Turn the shells cut-side up. Divide the cheddar and bacon among them. Return to the oven for about 3–5 minutes, just until the cheese melts.
- Finish and serve. Add a small spoonful or drizzle of sour cream and sprinkle with green onions and optional herbs. Serve while warm.
Tips for Crispy Potato Skins
- Choose russets. Their sturdy skins hold toppings better than thin-skinned varieties.
- Do not scoop too deeply. Leaving a layer of potato prevents the shell from collapsing.
- Dry the potatoes after washing. Wet skins do not brown as well.
- Brush both sides. A thin coating of oil or butter helps the outside crisp.
- Use freshly shredded cheese. It generally melts more smoothly than some pre-shredded blends.
- Add toppings near the end. This keeps the cheese from overbaking and the bacon from becoming too hard.
- Serve soon after topping. Sour cream and other wet toppings soften the shells over time.
Ways to Customize Potato Skins
- Broccoli cheddar: Add finely chopped steamed broccoli with the cheddar.
- Buffalo chicken: Add cooked shredded chicken tossed lightly with buffalo-style hot sauce, then top with cheese. Serve with a little ranch dressing.
- Loaded ranch: Mix a small amount of ranch seasoning into the sour cream and finish with chives.
- Southwest style: Add black beans, corn, diced jalapeño, and a little Monterey Jack cheese.
- Vegetarian: Skip the bacon and add sautéed mushrooms, scallions, or roasted peppers.
- Spicy jalapeño: Add finely sliced jalapeños and a little pepper jack cheese.
What to Do with the Scooped Potato
Do not throw away the potato flesh. Mash it with butter and milk for a quick side dish, fold it into potato cakes, add it to a vegetable soup, or use it as a thickener for chowder. Refrigerate the scooped potato promptly in a covered container and use within 3–4 days. Season it separately because the potato skins already receive salt and toppings.
Make-Ahead Instructions
You can bake the potatoes a day ahead, cool them, and refrigerate them whole. When ready to serve, cut and scoop the cold potatoes, brush the shells, and crisp them in the oven. You can also prepare the bacon, cheese, and green onions ahead and store them separately. For the best texture, do the final crisping and melting shortly before serving.
Storage and Reheating
Refrigerating: Store leftover potato skins in an airtight container in the refrigerator for up to 3–4 days. If possible, store sour cream separately and add it after reheating.
Reheating: Place the skins on a baking sheet and warm at 375°F (190°C) until heated through and the edges crisp again, usually about 8–12 minutes depending on size. An air fryer also works well. Avoid reheating with a large amount of sour cream already on top.
Freezing: For best results, freeze the crisped shells before adding sour cream and fresh toppings. Arrange on a tray until firm, then transfer to a freezer-safe container. Reheat from frozen in a 375°F (190°C) oven until hot, adding cheese and bacon near the end if they were not already added. Texture may be softer than freshly made.
Common Potato Skin Problems
The shells fall apart: Too much potato may have been scooped out. Leave about 1/4 inch of flesh attached and use a spoon rather than scraping aggressively.
The skins are soft: They may not have been dried or crisped long enough, or the tray may have been crowded. Return them to the oven before adding wet toppings.
The cheese gets oily: Very high heat or overbaking can cause some cheeses to separate. Use cheddar and melt it only until just melted.
The edges burn: Potato halves can vary in thickness. Check early and remove smaller shells as soon as they are crisp.
Frequently Asked Questions
Can I make potato skins in an air fryer?
Yes. Bake or microwave the potatoes until tender, cut and scoop them, brush with oil, and air-fry the shells at about 400°F (204°C) until crisp. Add cheese and bacon for the final few minutes until melted.
Can I use a different kind of potato?
Russets are best because they have sturdy skins and fluffy centers. Yukon Gold potatoes can work, but their skins are thinner and the finished shells may be less crisp.
Can potato skins be made without bacon?
Absolutely. Use broccoli, sautéed mushrooms, peppers, beans, or extra green onions for a vegetarian version. Check that the cheese and other toppings fit your dietary needs.
Why do you bake the shells twice?
The first bake cooks the potato. The second bake dries and crisps the scooped shells so they can hold the toppings without becoming soggy.
Can I prepare them for a party?
Yes. Bake and scoop the potatoes ahead, then refrigerate the shells. Crisp, fill, and finish them shortly before guests arrive.
Recipe Notes
Potato size affects baking time, so test for tenderness with a knife. Leave enough potato attached to the skin to make a sturdy shell, and crisp the shells before adding cheese and bacon. Add sour cream and green onions just before serving.
Final Thoughts
Classic potato skins turn a handful of everyday ingredients into a satisfying appetizer. Their crisp edges, melted cheddar, smoky bacon, and cool sour cream make them easy to share and easy to customize. Prepare the potatoes ahead if needed, then finish the shells in the oven just before serving for the best texture.
Recipe Card
Classic Potato Skins
Prep: 15 minutes | Bake: 65–80 minutes | Serves: 4–6 as an appetizer
Ingredients
- 4 medium-large russet potatoes
- 1–2 tablespoons olive oil or melted butter
- 1/2 teaspoon kosher salt
- 1/4 teaspoon black pepper
- 1 cup shredded sharp cheddar
- 4–5 strips bacon, cooked and crumbled
- 1/3 cup sour cream
- 2 green onions, sliced
Instructions
- Heat oven to 400°F (200°C). Scrub, dry, and prick potatoes.
- Bake 50–60 minutes until tender. Cool enough to handle.
- Cut lengthwise and scoop out most of the flesh, leaving about 1/4 inch.
- Brush shells with oil or butter and season with salt and pepper.
- Bake cut-side up 10–15 minutes; turn and bake 5 minutes more if desired.
- Turn cut-side up, fill with cheddar and bacon, and bake 3–5 minutes until cheese melts.
- Top with sour cream and green onions. Serve warm.
Allergen note: Contains dairy. Bacon and packaged toppings may have additional ingredients; check labels.
Leave a Reply