
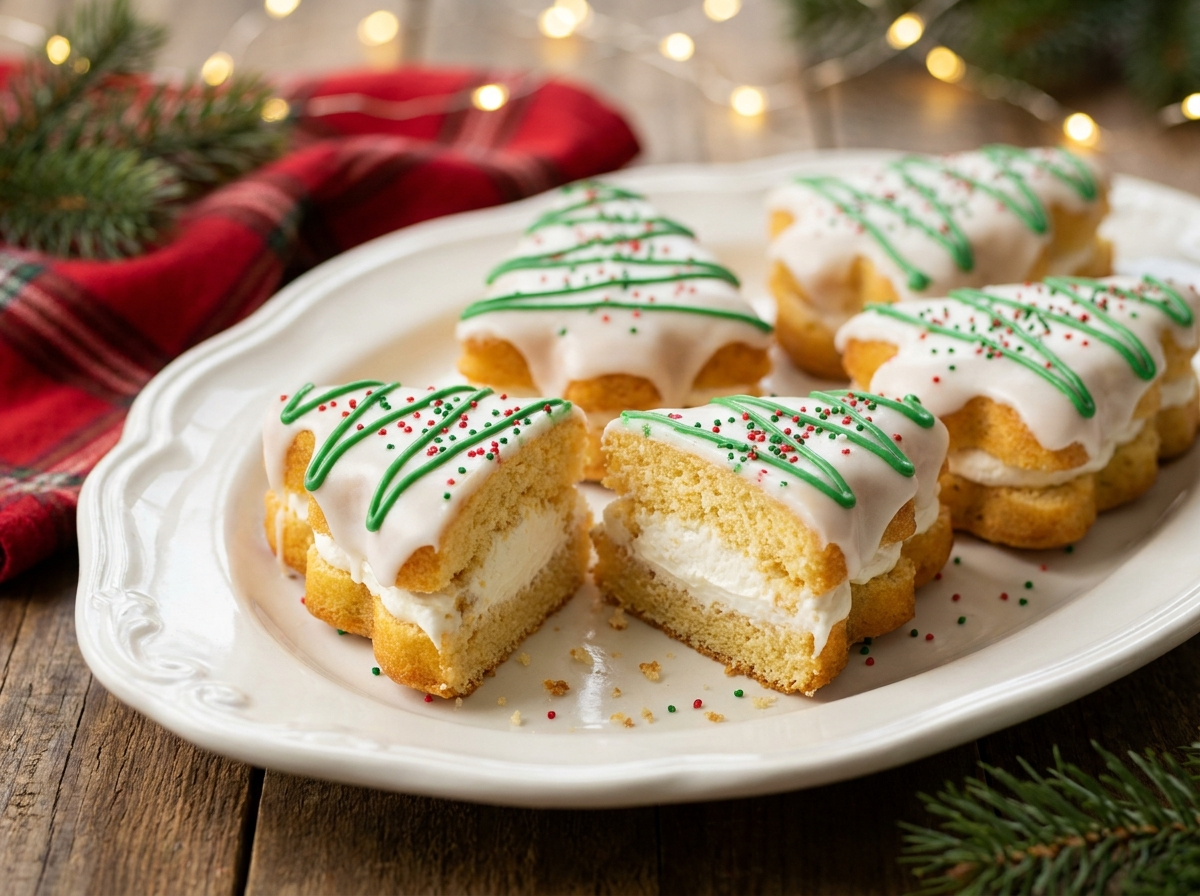
These homemade Christmas tree cakes are inspired by the familiar seasonal snack cakes: tender vanilla cake, a sweet creamy filling, a smooth white coating, green sprinkles and red icing details. Making them at home takes a little more time than opening a box, but the result is a festive treat with soft cake layers and a fresh vanilla flavor.
This is an independent copycat-style recipe inspired by the look and flavor of the seasonal snack. It is not affiliated with or endorsed by Little Debbie or its manufacturer. The easiest way to get neat tree shapes is to bake the cake in a thin sheet, cool it completely, sandwich it with filling, chill until firm and then cut the shapes with a tree-shaped cutter. Work with cold cakes when coating them to reduce crumbs.
What Makes These Homemade Tree Cakes Special?
- Soft vanilla cake: A thin, tender sheet cake is easier to cut and fill than individual cupcakes.
- Sweet cream center: A fluffy vanilla filling gives the cakes their classic snack-cake feel.
- White coating: Melted white candy coating sets into a smooth shell and makes decorating easier.
- Festive finish: Green sprinkles and thin red icing lines create the recognizable holiday look.
Ingredients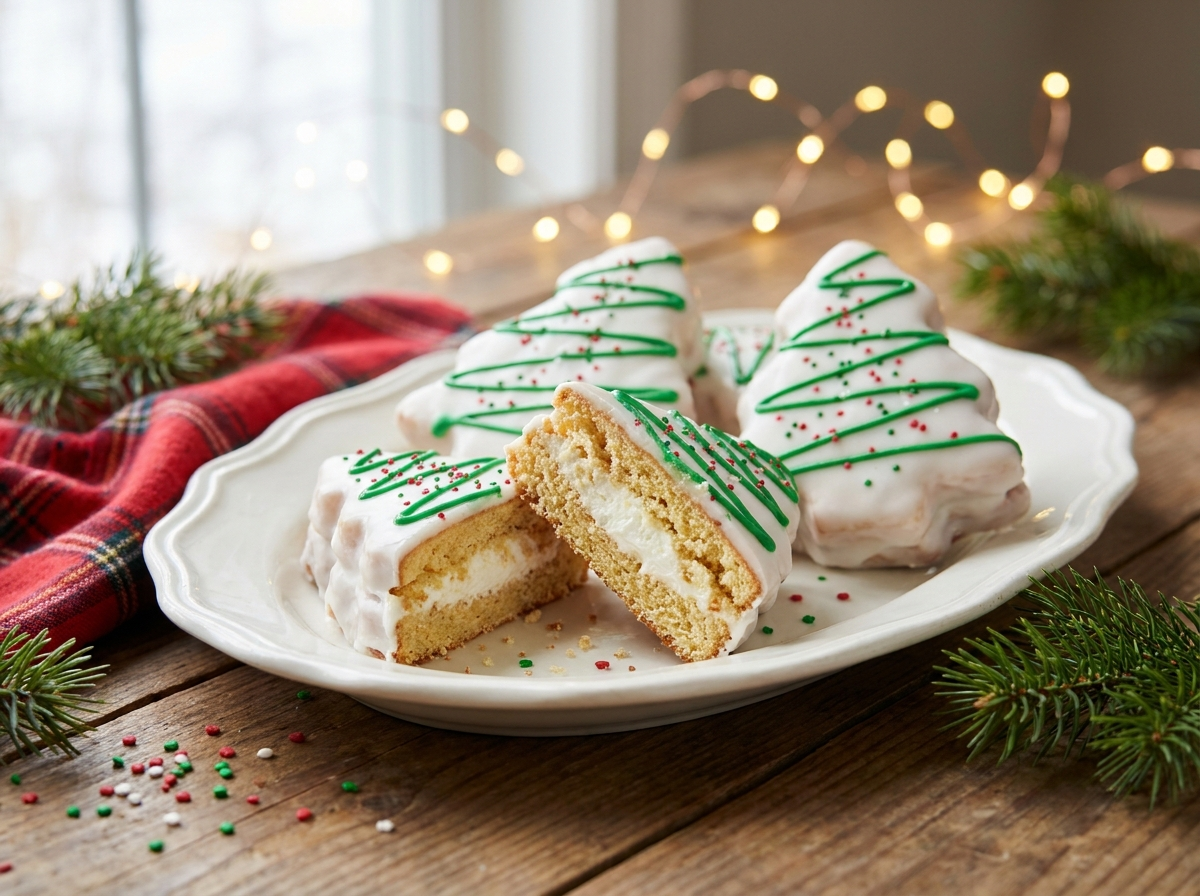
For the vanilla cake
- 1 1/2 cups (190 g) all-purpose flour, spooned and leveled
- 1 1/2 teaspoons baking powder
- 1/4 teaspoon fine salt
- 3/4 cup (150 g) granulated sugar
- 1/2 cup (113 g) unsalted butter, softened
- 2 large eggs, room temperature
- 2 teaspoons vanilla extract
- 1/2 cup (120 ml) whole milk, room temperature
For the cream filling
- 1/2 cup (113 g) unsalted butter, softened
- 1 1/2 cups (180 g) powdered sugar, sifted
- 1 teaspoon vanilla extract
- 1–2 tablespoons milk or heavy cream, as needed
- Pinch of salt
For coating and decorating
- 20–24 ounces (565–680 g) white candy melts or white melting wafers
- 1–2 teaspoons neutral vegetable oil or shortening, only if needed to thin the coating
- Green sugar sprinkles
- 1/3 cup (about 55 g) red candy melts or red decorating icing
Ingredient Notes
White candy melts: Candy melts or compound melting wafers are convenient because they are designed to melt and set without tempering. Real white chocolate can be used, but it needs careful melting and, for a firm glossy finish at room temperature, proper tempering.
Tree cutter: A cutter around 3–4 inches tall makes snack-size cakes. If you do not have one, cut simple tree shapes with a small sharp knife using a paper template as a guide.
Milk: Whole milk gives the cake a tender crumb. Low-fat milk works, though the cake may be slightly less rich.
Filling: This recipe uses a buttercream-style filling that is easy to make with common ingredients. It will taste sweeter and slightly different from a commercial creme filling, but it holds its shape well when chilled.
How to Make Copycat Christmas Tree Cakes
1. Prepare the pan and oven
Heat the oven to 350°F (175°C). Grease a 10-by-15-inch rimmed sheet pan and line the bottom with parchment paper. Leave a little parchment overhang if possible so the cake is easier to lift out. The batter should spread into a relatively thin, even layer.
2. Mix the dry ingredients
In a medium bowl, whisk together the flour, baking powder and salt. Set aside. Mixing these ingredients first helps distribute the leavening evenly.
3. Cream the butter and sugar
In a separate large bowl, beat the softened butter and granulated sugar for about 2–3 minutes, until pale and fluffy. Scrape down the bowl. Beat in the eggs one at a time, followed by the vanilla.
4. Finish the cake batter
Add the flour mixture in three additions, alternating with the milk in two additions. Begin and end with the flour mixture. Mix on low speed just until combined. Avoid overmixing, which can make the cake tough.
5. Bake and cool
Spread the batter evenly in the prepared pan. Bake for approximately 12–16 minutes, or until the center springs back lightly and a toothpick inserted in the middle comes out clean or with a few moist crumbs. Ovens and pan materials vary, so begin checking early. Cool the cake completely in the pan.
6. Make the cream filling
Beat the softened butter until smooth. Add the powdered sugar gradually, then beat in the vanilla and salt. Add milk or cream a teaspoon at a time until the filling is thick but spreadable. It should hold soft peaks rather than run off the cake.
7. Fill and chill the cake
Lift the cooled cake onto a cutting board. If the top is uneven, gently level it. Spread the filling in an even layer over the cake, leaving a small border around the edges. Place the cake in the refrigerator for 30–45 minutes, or until the filling is firm enough to handle.
8. Cut the tree shapes
Place a tree-shaped cutter on the chilled cake and press straight down. Lift each shape carefully with a thin spatula. Arrange the cakes on a parchment-lined tray. Gather suitable scraps and enjoy them separately rather than trying to force them into uneven shapes. Chill the cut cakes for another 20–30 minutes before coating.
9. Melt the white coating
Place the white candy melts in a clean, completely dry microwave-safe bowl. Microwave in 20–30 second intervals, stirring thoroughly after each interval, until mostly melted. Continue stirring until smooth. If the coating is too thick for dipping, stir in a small amount of neutral oil or shortening. Add it sparingly; too much can prevent the coating from setting firmly.
10. Coat the cakes
Work with a few chilled cakes at a time and keep the rest refrigerated. Set one cake on a fork or dipping tool and spoon the melted coating over the top and sides. Allow excess coating to drip back into the bowl, then transfer the cake to parchment. Use a small offset spatula to cover any missed spots. Add green sprinkles while the coating is still wet.
11. Add the red details
Melt the red candy melts according to the package directions, or prepare red decorating icing. Transfer to a piping bag or a small zip-top bag with a tiny corner snipped off. Pipe thin horizontal lines across each tree to resemble garland. Let the coating set completely before serving or storing.
Tips for Neat, Professional-Looking Cakes
- Cool the cake fully. Warm cake can soften the filling and break when cut.
- Chill before cutting and dipping. Firm cakes are easier to lift and less likely to shed crumbs into the coating.
- Use a thin, even filling layer. Too much filling can squeeze out when the cakes are cut or dipped.
- Keep water away from melted coating. Even a small amount can make candy melts seize or turn grainy.
- Do not overheat the coating. Short microwave intervals and frequent stirring help prevent scorching.
- Decorate while the coating is wet. Sprinkles adhere best before the white shell sets.
- Use a small batch for dipping. Keeping the remaining cakes cold helps them hold their shape.
Variations
Chocolate Christmas Tree Cakes
Replace 1/4 cup of the flour with 1/4 cup unsweetened cocoa powder. The cake will have a chocolate flavor while the vanilla filling and white coating provide contrast.
Almond-Vanilla Cakes
Add a small amount of almond extract along with the vanilla. Almond extract is strong, so begin with 1/8 teaspoon.
Mini Tree Cakes
Use a smaller cutter to make bite-size treats. Smaller cakes are quicker to dip, but the yield will depend on the cutter and how efficiently you cut the sheet.
Different Holiday Decorations
Use colored sprinkles, edible sugar pearls or different icing colors to make the cakes fit a party theme. Keep decorations food-safe and suitable for the people being served.
Make-Ahead, Storage and Freezing
The cake can be baked one day ahead, cooled, wrapped well and refrigerated before filling. The filled and cut cakes can also be chilled for several hours before dipping. Once decorated, arrange them in a single layer in an airtight container and refrigerate for up to 4 days. Let them sit at room temperature for about 10–15 minutes before serving for a softer bite, while keeping food-safety time limits in mind.
To freeze, place the fully set cakes in a single layer until firm, then transfer them to a freezer-safe airtight container with parchment between layers. Freeze for up to 1 month for best quality. Thaw overnight in the refrigerator, still covered, to help reduce condensation on the coating. The coating may lose some of its original shine after freezing and thawing.
Frequently Asked Questions
Do I need to temper the white chocolate?
Not if you use candy melts or compound melting wafers and follow the package directions. Real white chocolate generally needs tempering if you want a firm, glossy shell that sets reliably at room temperature.
Why are my cakes breaking when I cut them?
The cake may be too warm, too thin in one area or not fully supported. Cool it completely, chill it after adding the filling and use a sharp cutter pressed straight down without twisting.
Can I use a boxed cake mix?
Yes. Prepare a vanilla or yellow cake mix according to its directions, but spread only the amount needed into a lined sheet pan to create a thin layer. Baking time will depend on the mix and pan depth, so use the doneness cues rather than relying only on the time listed here.
Can I make these without a tree-shaped cutter?
Yes. Make a paper tree template and use a small sharp knife to cut around it. Wipe the knife between cuts for cleaner edges.
Why is my candy coating too thick?
It may have overheated or may simply be a thick brand. If it is smooth but thick, stir in a very small amount of neutral oil or shortening. If it has seized after contact with water, it may not return to a good dipping consistency.
Can I leave the cakes out overnight?
Because the filling contains butter and dairy, refrigeration is the safer storage choice. Keep the cakes chilled and avoid leaving them at room temperature for more than 2 hours, or 1 hour if the surroundings are hotter than 90°F (32°C).
Copycat Little Debbie Christmas Tree Cakes Recipe
Prep time: 45 minutes, plus chilling
Cook time: 12–16 minutes
Total time: About 2 hours, including cooling and chilling
Yield: Approximately 8–10 snack cakes, depending on cutter size
Course: Dessert
Method: Bake, fill and dip
Ingredients
- 1 1/2 cups all-purpose flour
- 1 1/2 teaspoons baking powder
- 1/4 teaspoon salt
- 3/4 cup granulated sugar
- 1/2 cup unsalted butter, softened
- 2 large eggs
- 2 teaspoons vanilla extract
- 1/2 cup whole milk
- 1/2 cup unsalted butter, softened, for filling
- 1 1/2 cups powdered sugar
- 1 teaspoon vanilla extract, for filling
- 1–2 tablespoons milk or cream
- 20–24 ounces white candy melts
- Green sprinkles and red decorating icing or red candy melts
Instructions
- Heat oven to 350°F (175°C). Grease and line a 10-by-15-inch rimmed sheet pan.
- Whisk flour, baking powder and salt in a bowl.
- Beat 1/2 cup butter with granulated sugar until fluffy. Beat in eggs one at a time, then vanilla.
- Mix in the dry ingredients alternately with milk, beginning and ending with dry ingredients. Spread evenly in the pan.
- Bake 12–16 minutes, until the center springs back and a toothpick comes out clean. Cool completely.
- Beat the remaining 1/2 cup butter until smooth. Gradually beat in powdered sugar, filling vanilla, salt and enough milk or cream to make a thick spreadable filling.
- Spread filling over the cooled cake. Chill 30–45 minutes until firm.
- Cut into tree shapes and place on a parchment-lined tray. Chill another 20–30 minutes.
- Melt white candy coating in short microwave intervals, stirring until smooth. Thin sparingly with oil or shortening if needed.
- Dip or spoon coating over each chilled cake. Add green sprinkles while wet.
- Pipe red horizontal lines over the set or partly set coating. Allow to set completely before storing.
Notes: The final yield depends on the cutter size and how much cake is lost around the edges. Keep cakes chilled during dipping. For reliable setting, use candy melts or compound wafers; real white chocolate requires more careful handling.
Food-Safety Reminder
These cakes contain dairy and eggs. Refrigerate them in a covered container and do not leave them at room temperature for extended periods. For general guidance, consult the U.S. Food and Drug Administration’s food-safety recommendations.
Leave a Reply